
Learning to Fly
How I learned to stitch my own kits and stop waiting for 8+ months for customization
Stitching is something I’ve wanted to learn how to do on my own for a long time - several years, in fact. However I could never quite find the time or energy or really, a reason to do it. I was generally OK with waiting on most companies to do the work, and if a jersey was gone for a few months, no big deal. I still found the idea of doing it myself interesting though. At the suggestion of a few people in the community, I picked up a pound of scraps and a sewing machine to practice with just to see if I liked it. I got the giant box in for the sewing machine, got the pound of scraps…and then put it in the closet where it would collect dust for the last three years.
The pandemic only hindered my desire to learn even more. I had a child at home 24/7, plus a very stressful full-time job. Add on all the cleaning I was doing and I had very little time to learn and practice. I’ve always been an advocate of self-growth and self-exploration, so I always felt a bit disappointed in myself for abandoning a project before it got off the ground.
The inspiration to get off my butt.
Earlier this year, I decided that I would like to add a flavor to my collection, and the journey of The Jewish Project began. After realizing just how expensive and how long it would be to send off all of the jerseys I wanted done up to their respective customizers, I decided to face my procrastination head-on and start watching some how-to videos, starting with the amazing PensJerseys Playlist. I faced my fears, and grabbed my sewing machine out of the closet with some basic white thread and my pound of scraps and went to town.
It did not start super well.
As expected, things didn’t start off well. I didn’t know how to handle corners or curves, and my straights were not very straight at all. I couldn’t hit edges, and I couldn’t go in a straight line. It was a very bad time and I worried that I was not cut out for this.
I kept going, and eventually started doing better.
Time to put it all together
I gathered up my kits and headed over to Michael’s, and brought my trusty iPad with, making sure to save an offline copy of the Thread Color Guide that I had been working on. I plopped down in the thread section, and started trying to match thread colors as best as possible. I was actually surprised at how many I could get very close to the twill color!

Now that I felt like I was getting more comfortable, and could handle my straight lines pretty well, I decided it was time to send it, and start actually putting kits on jerseys. This was probably the hardest part for me, as I wanted to be straight, precise, and accurate as possible. I started looking up images of the jerseys in use to try to gauge spacing and placement, and going for what generally looked as close as possible. Actual measurements are secret, so I had to do what I could with Getty images and game worn photos.

I tried to use an iron, but felt that it made the kit move way too much, so I ponied up and got myself a Cricut EasyPress 2, read the instructions, and went to town. Pardon the mess, I live in chaos. I also was quickly corrected that I need a protective layer in between the press and the jersey, so I started using some parchment paper as a buffer.

I also found that since the Cricut is very lightweight, things weren’t adhering like I desired. So I busted out a big stack of books to act as a weight to really hold the lettering in place while the glue dried. I also picked up a large 12x15 ironing pad so I could have some wiggle room when using my press, and balance better.

First one down
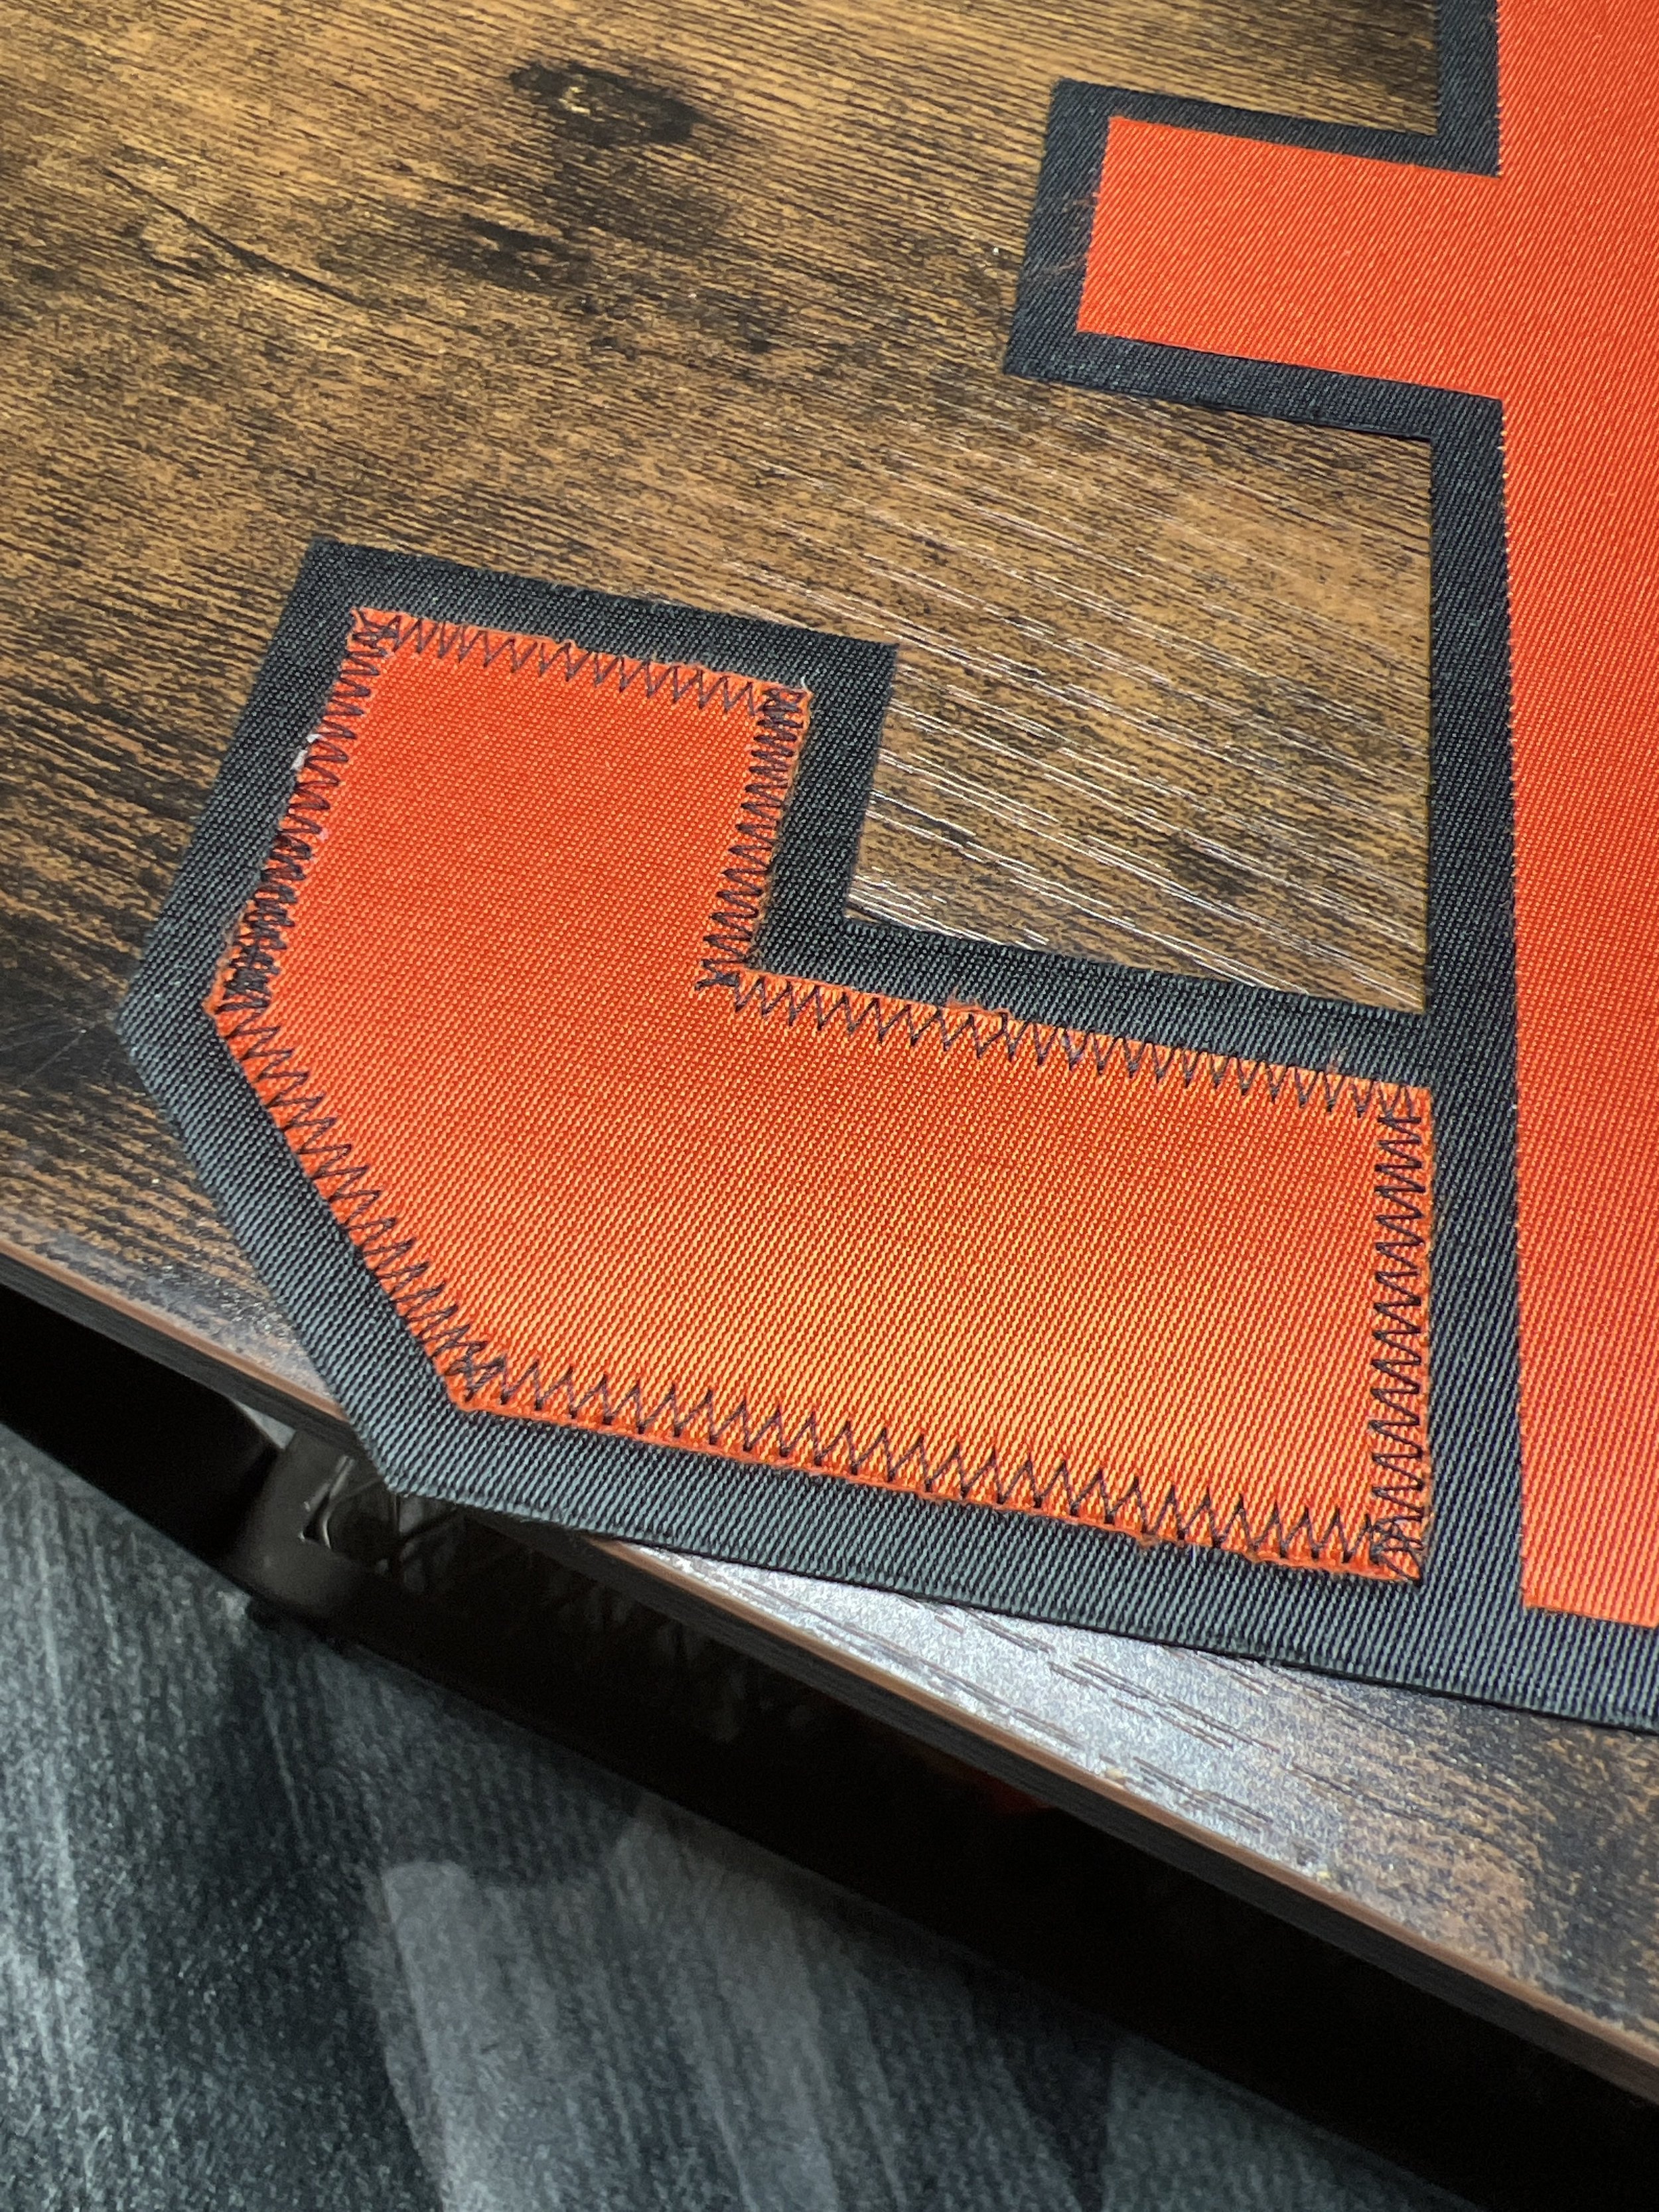
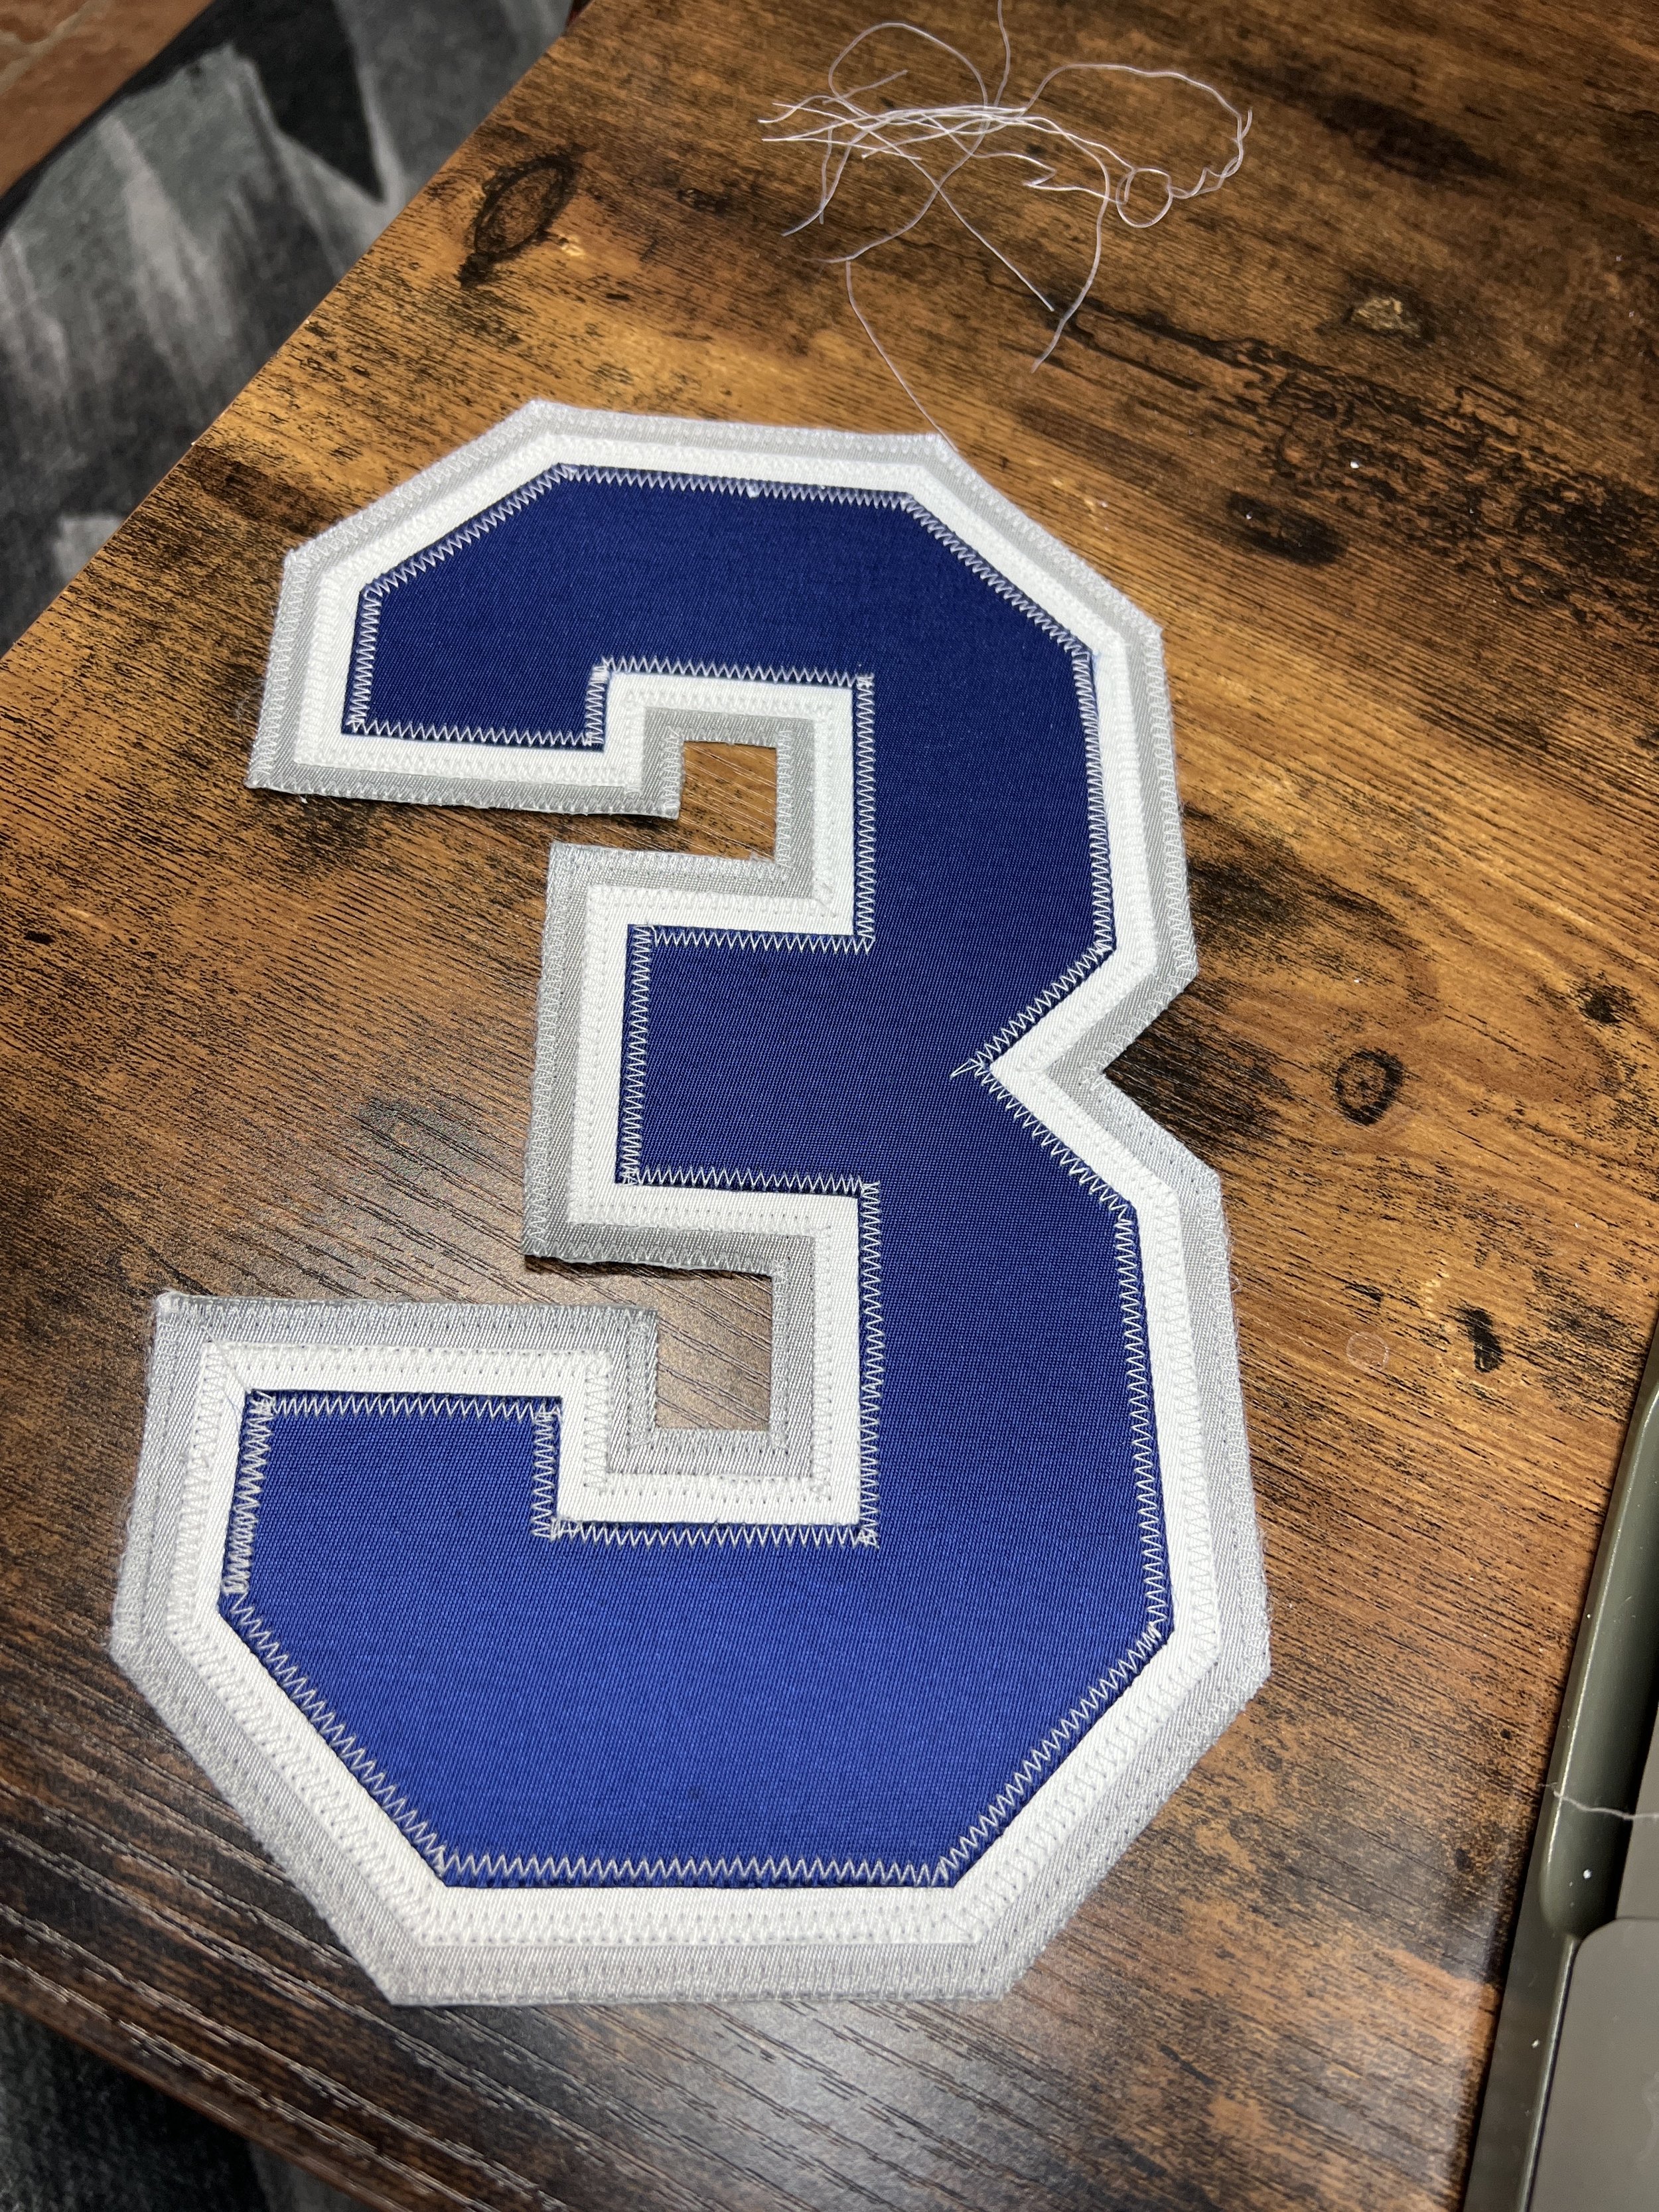
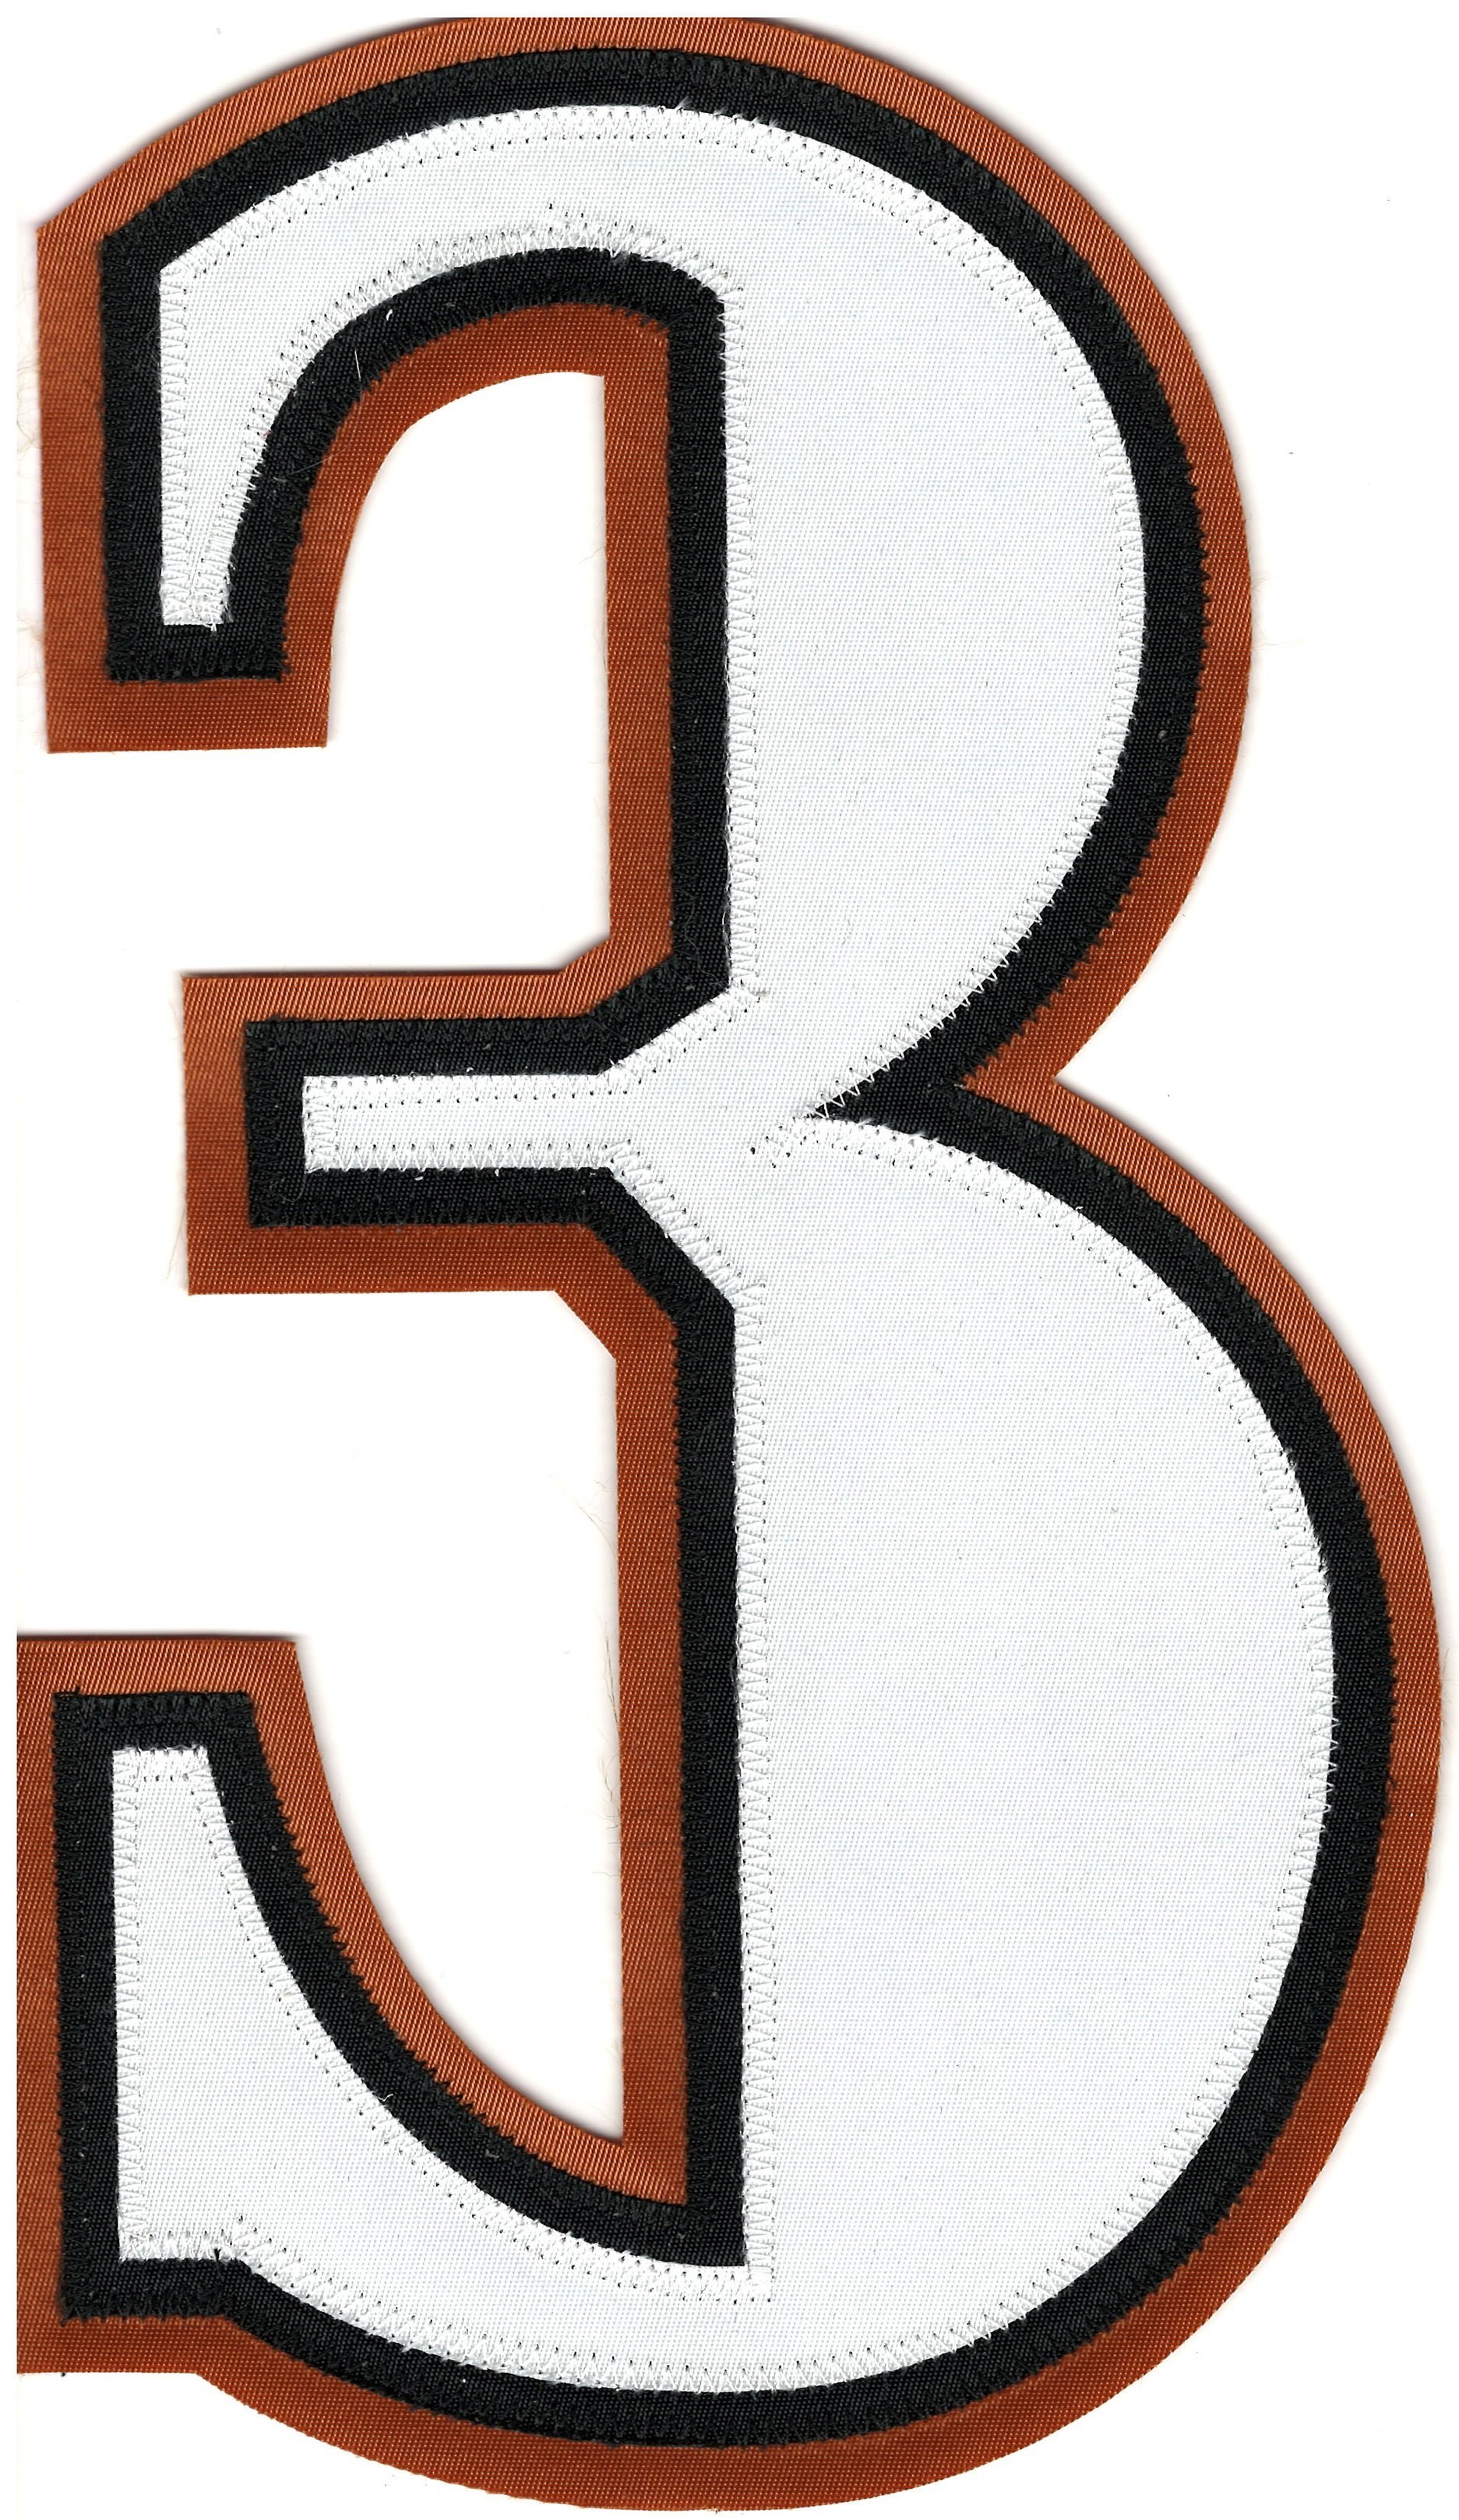
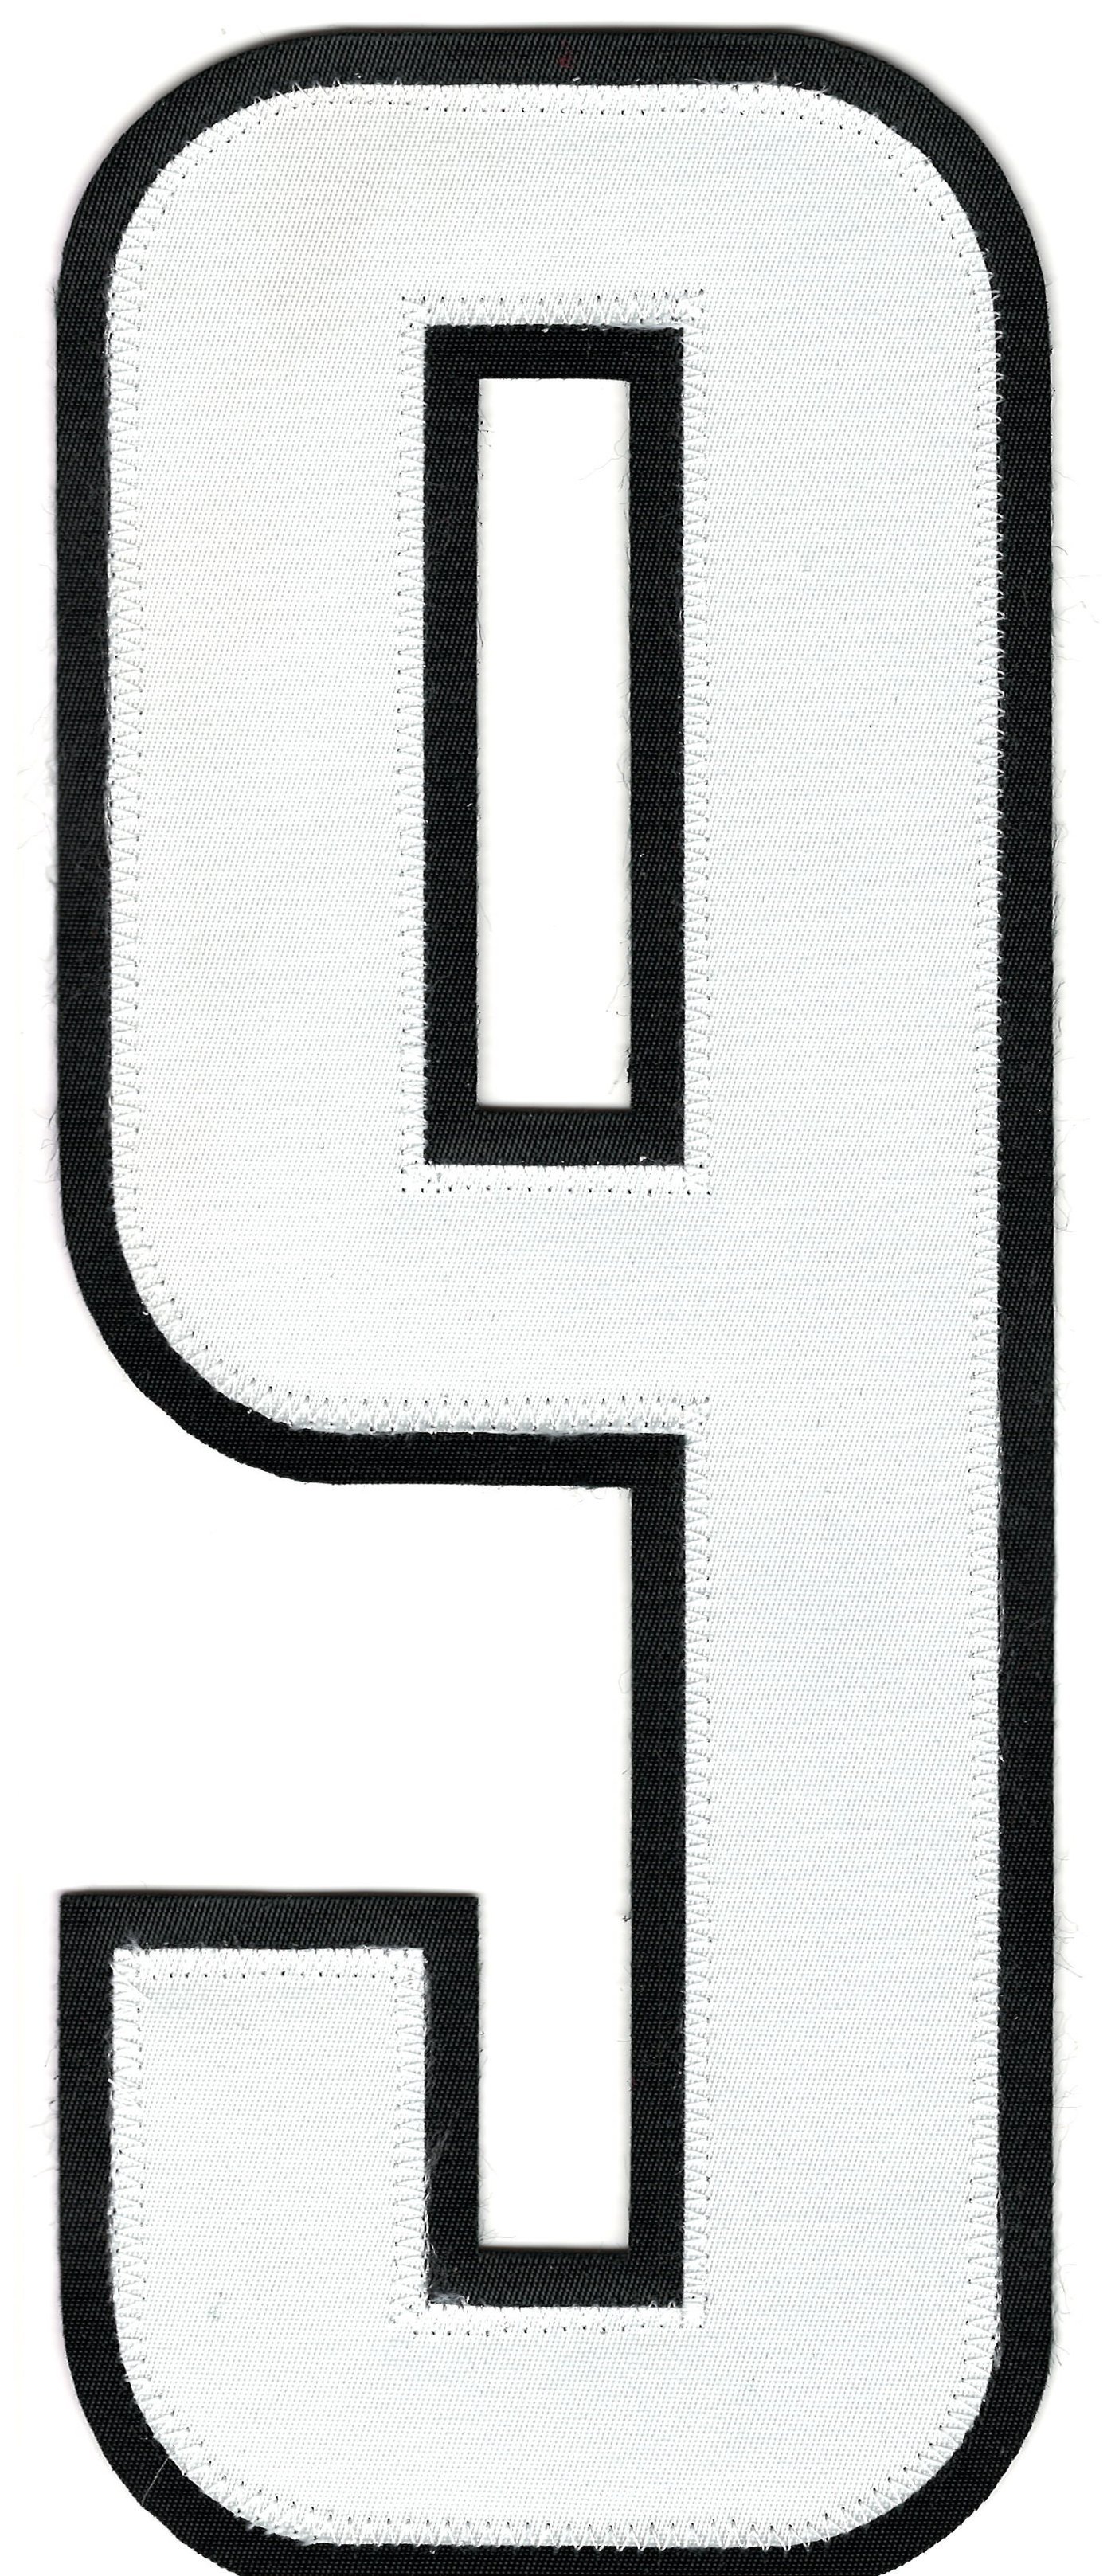
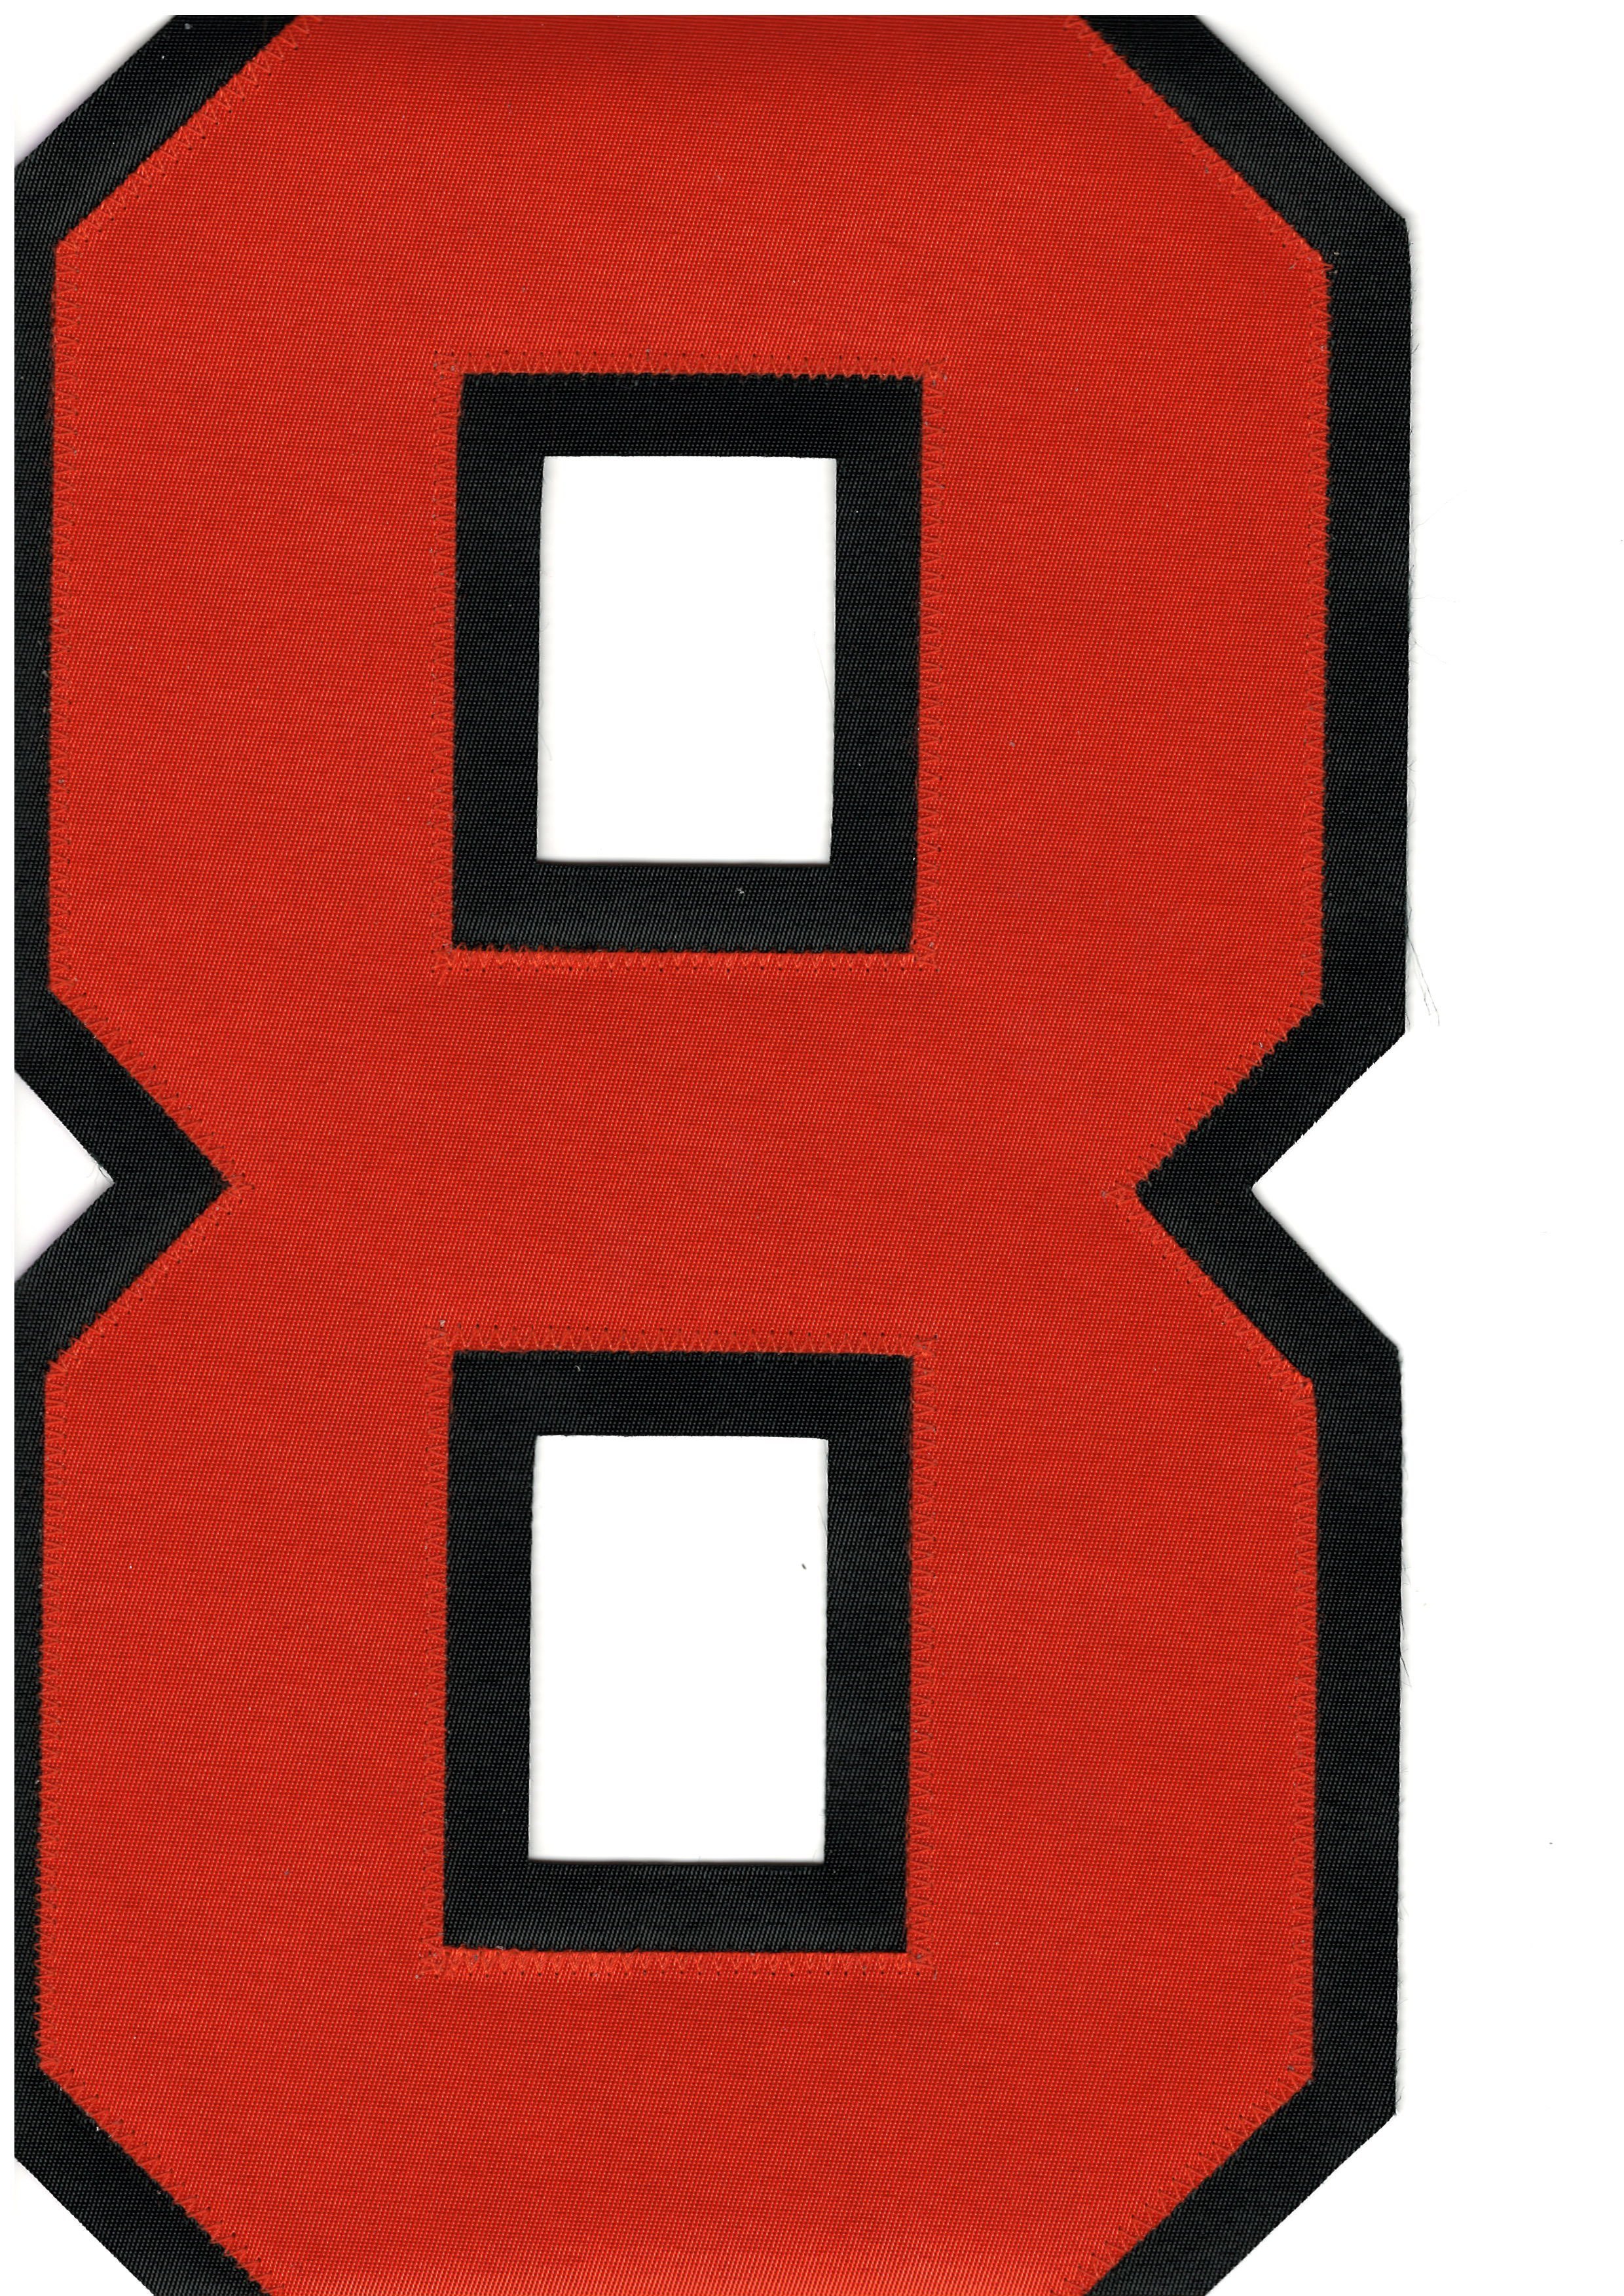
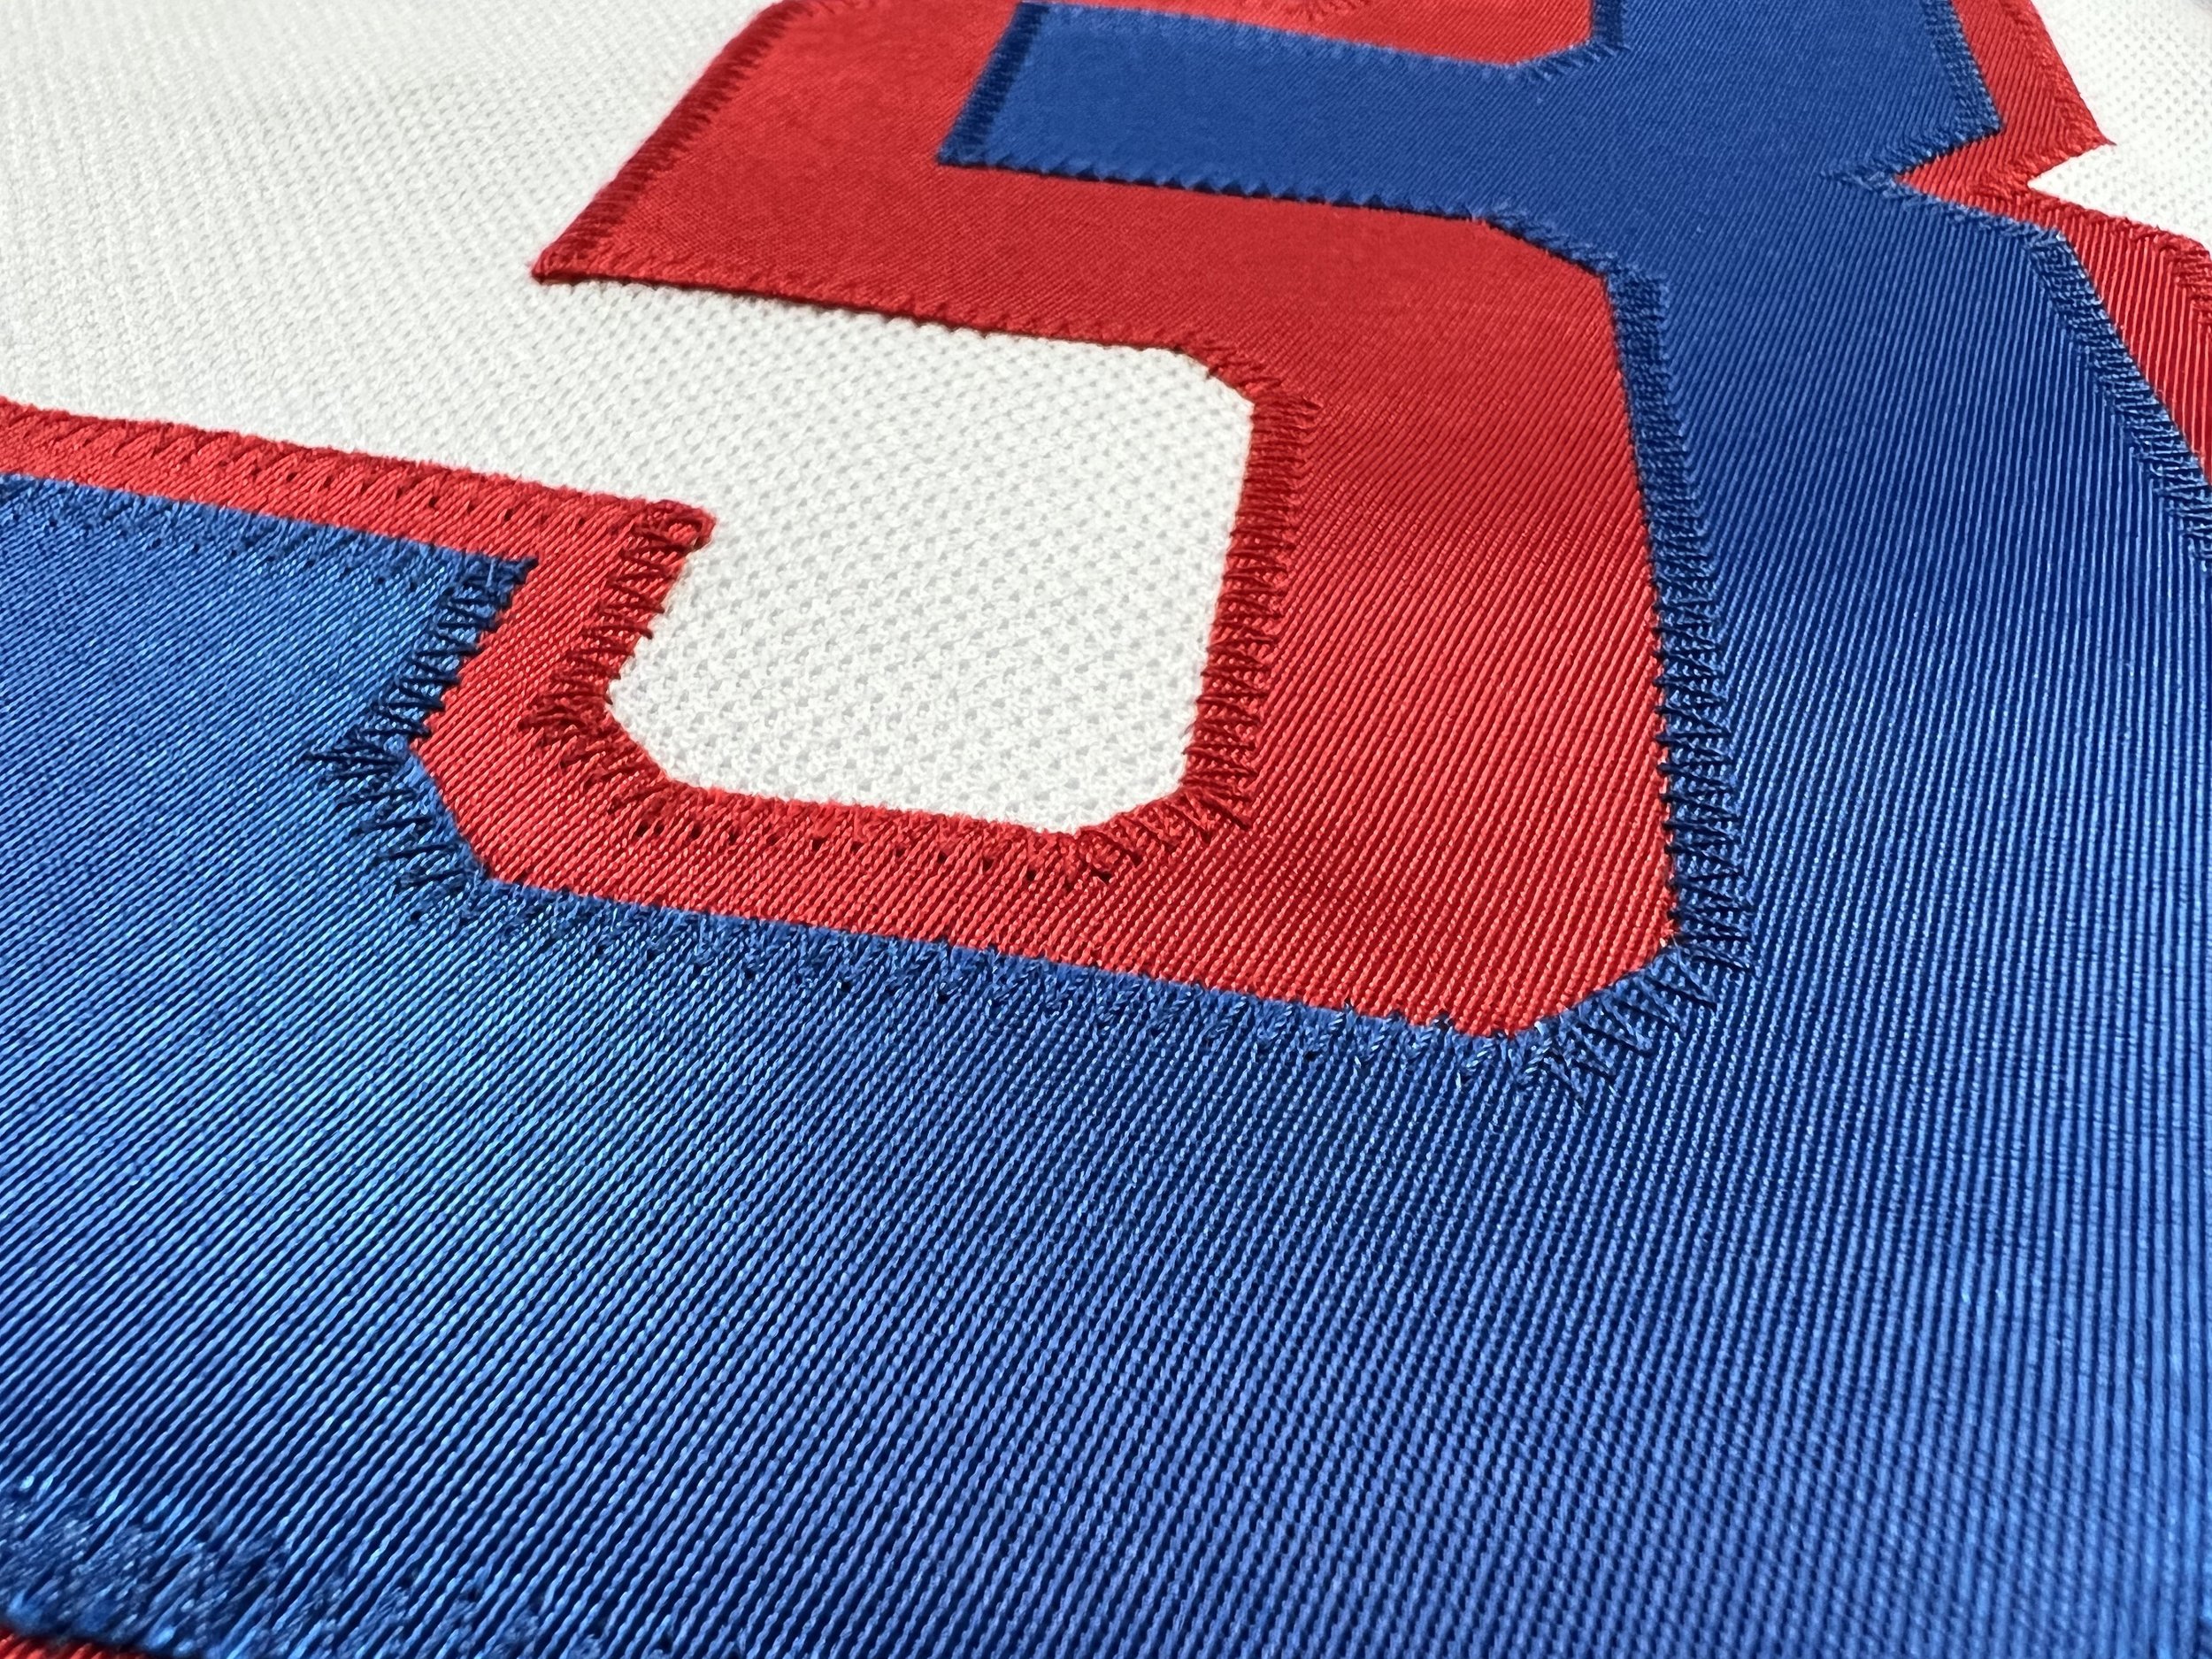
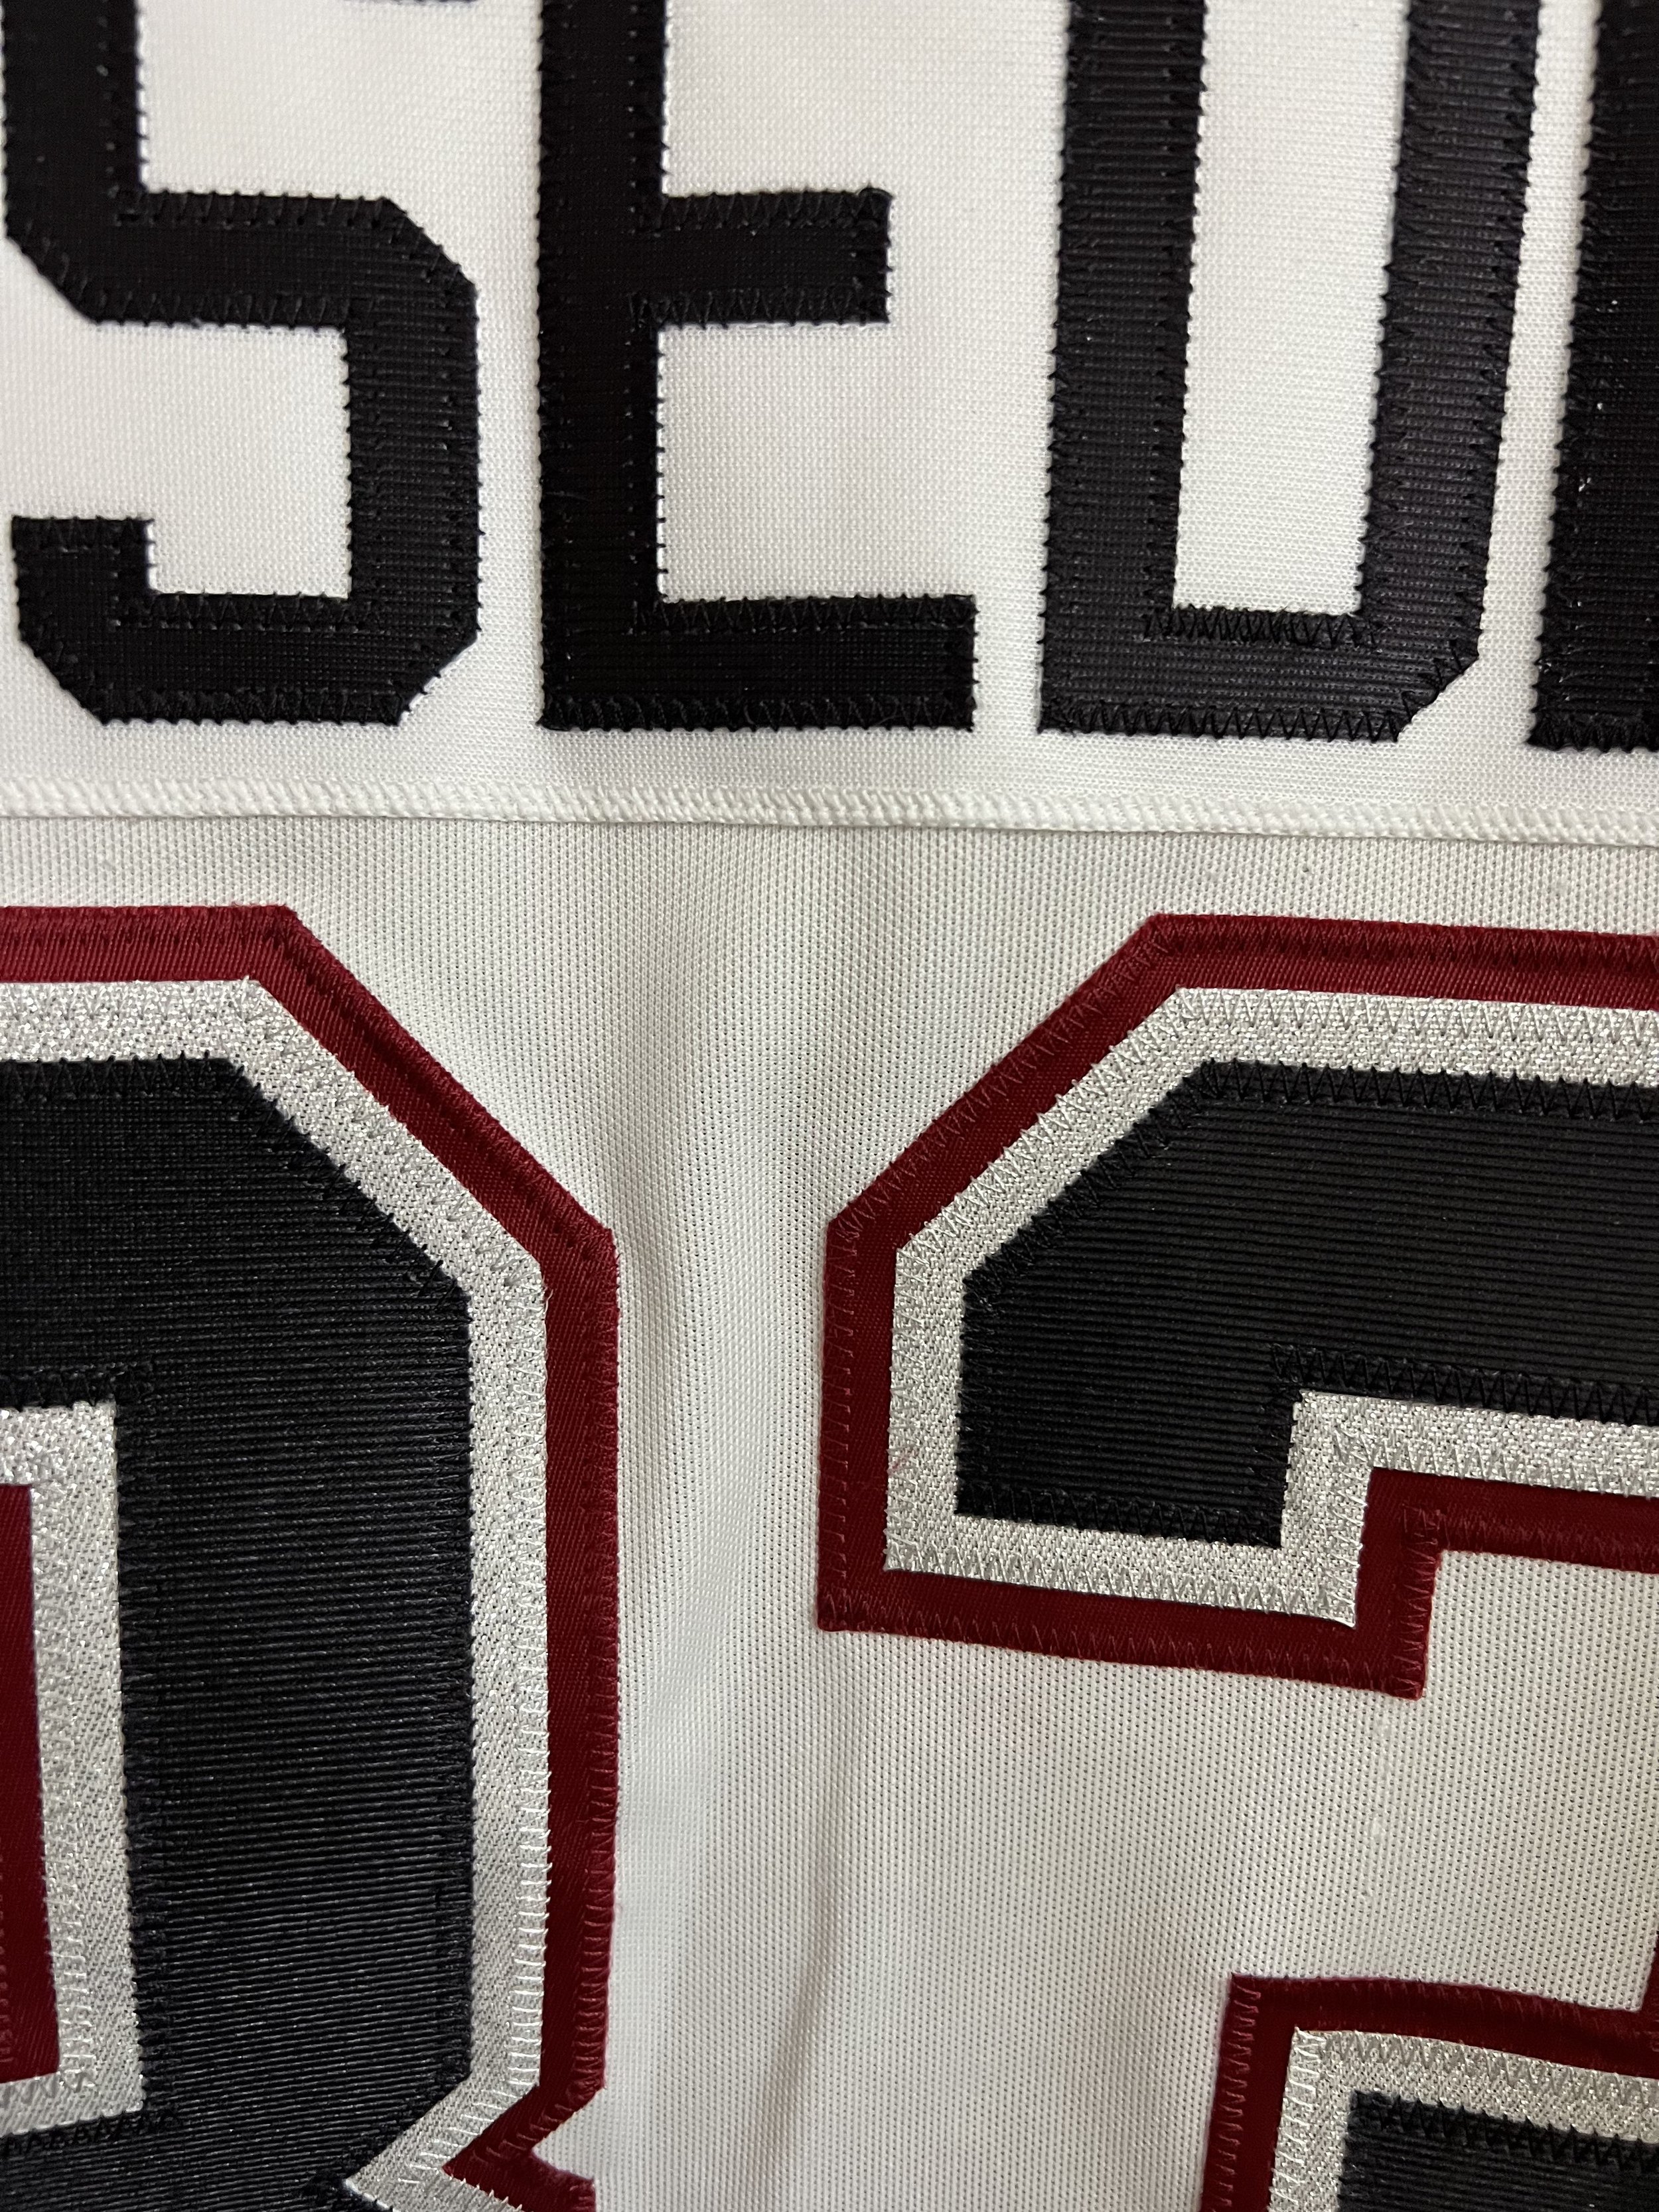
I had assembled a bunch of kits, and had pressed a few on, so I decided I needed to actually do the final layer of stitching. This is one where I definitely bit off a bit more than I could chew, and should have started on a junk jersey just to get a feel for the order of operations that I preferred. I didn’t know techniques yet, and I just kinda shoved the jersey into my machine and hoped for the best. I hadn’t totally nailed down my stitch widths either, so I made some mistakes in stitching my first one. Things like using a 3mm width on the nameplate instead of 4mm, and pressing everything before stitching, rather than tackling it in phases. It still came out really well, and I’m still happy with it, but I’d definitely do things differently.
Marking it up
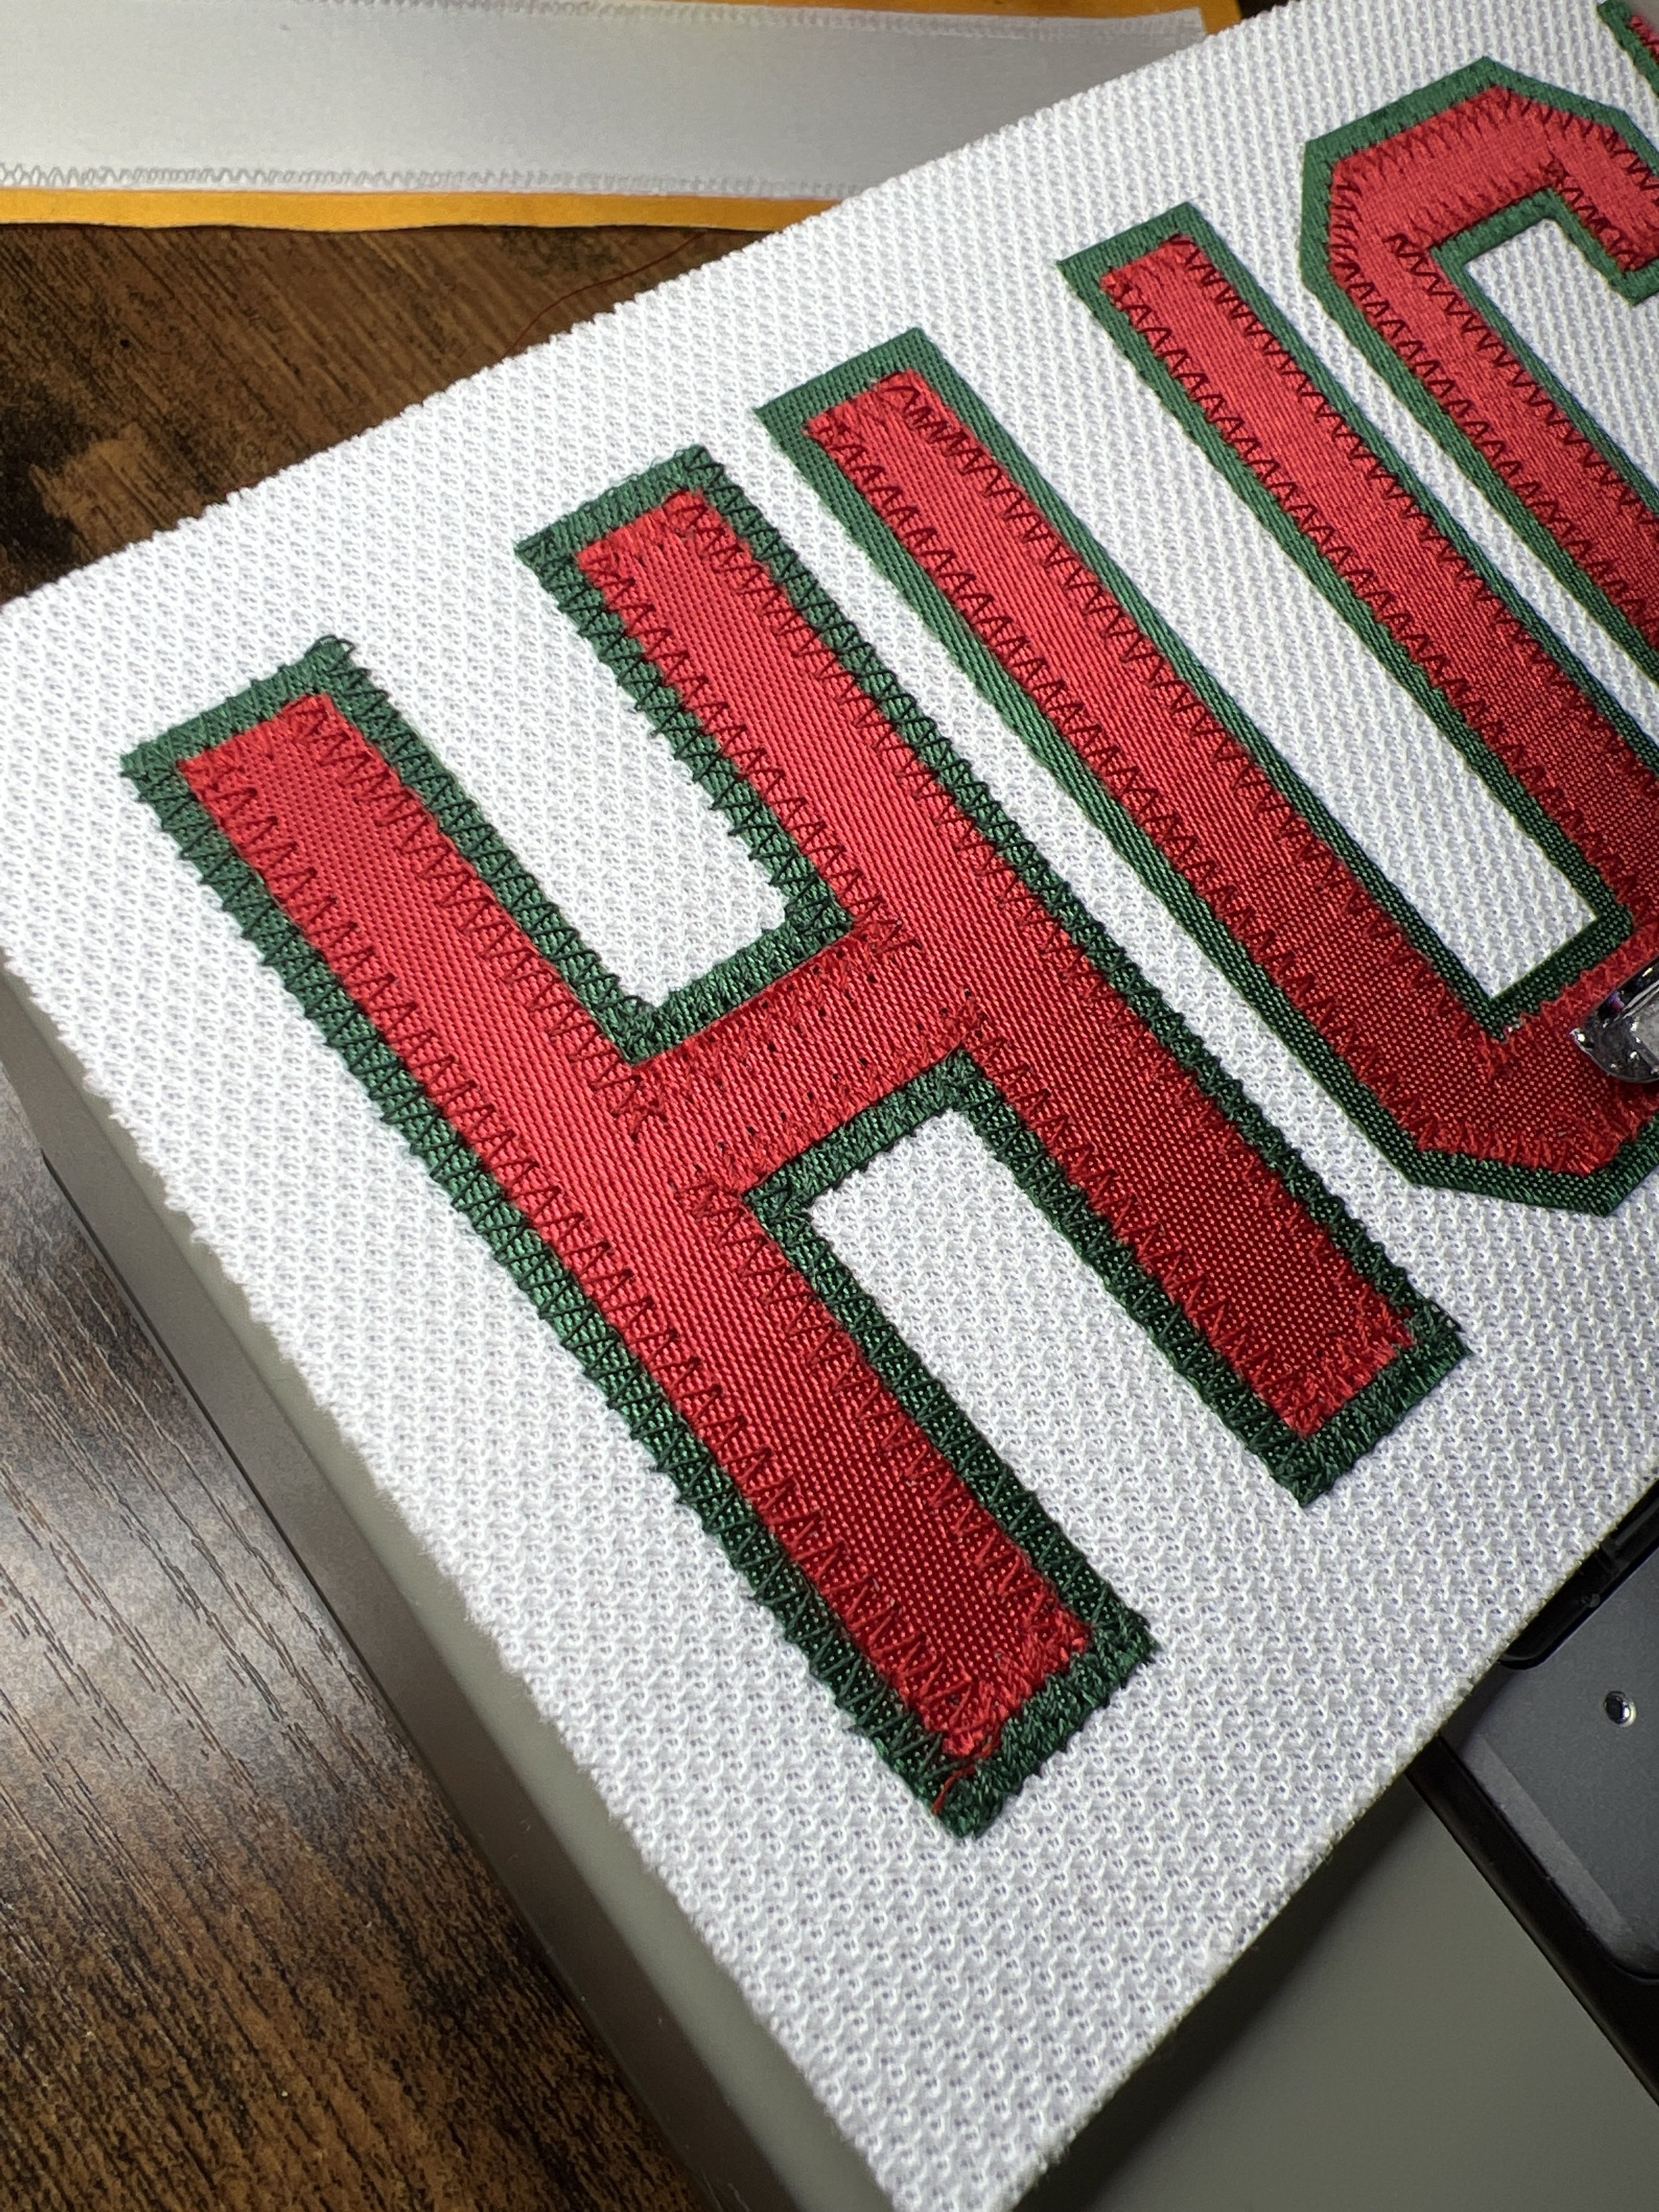
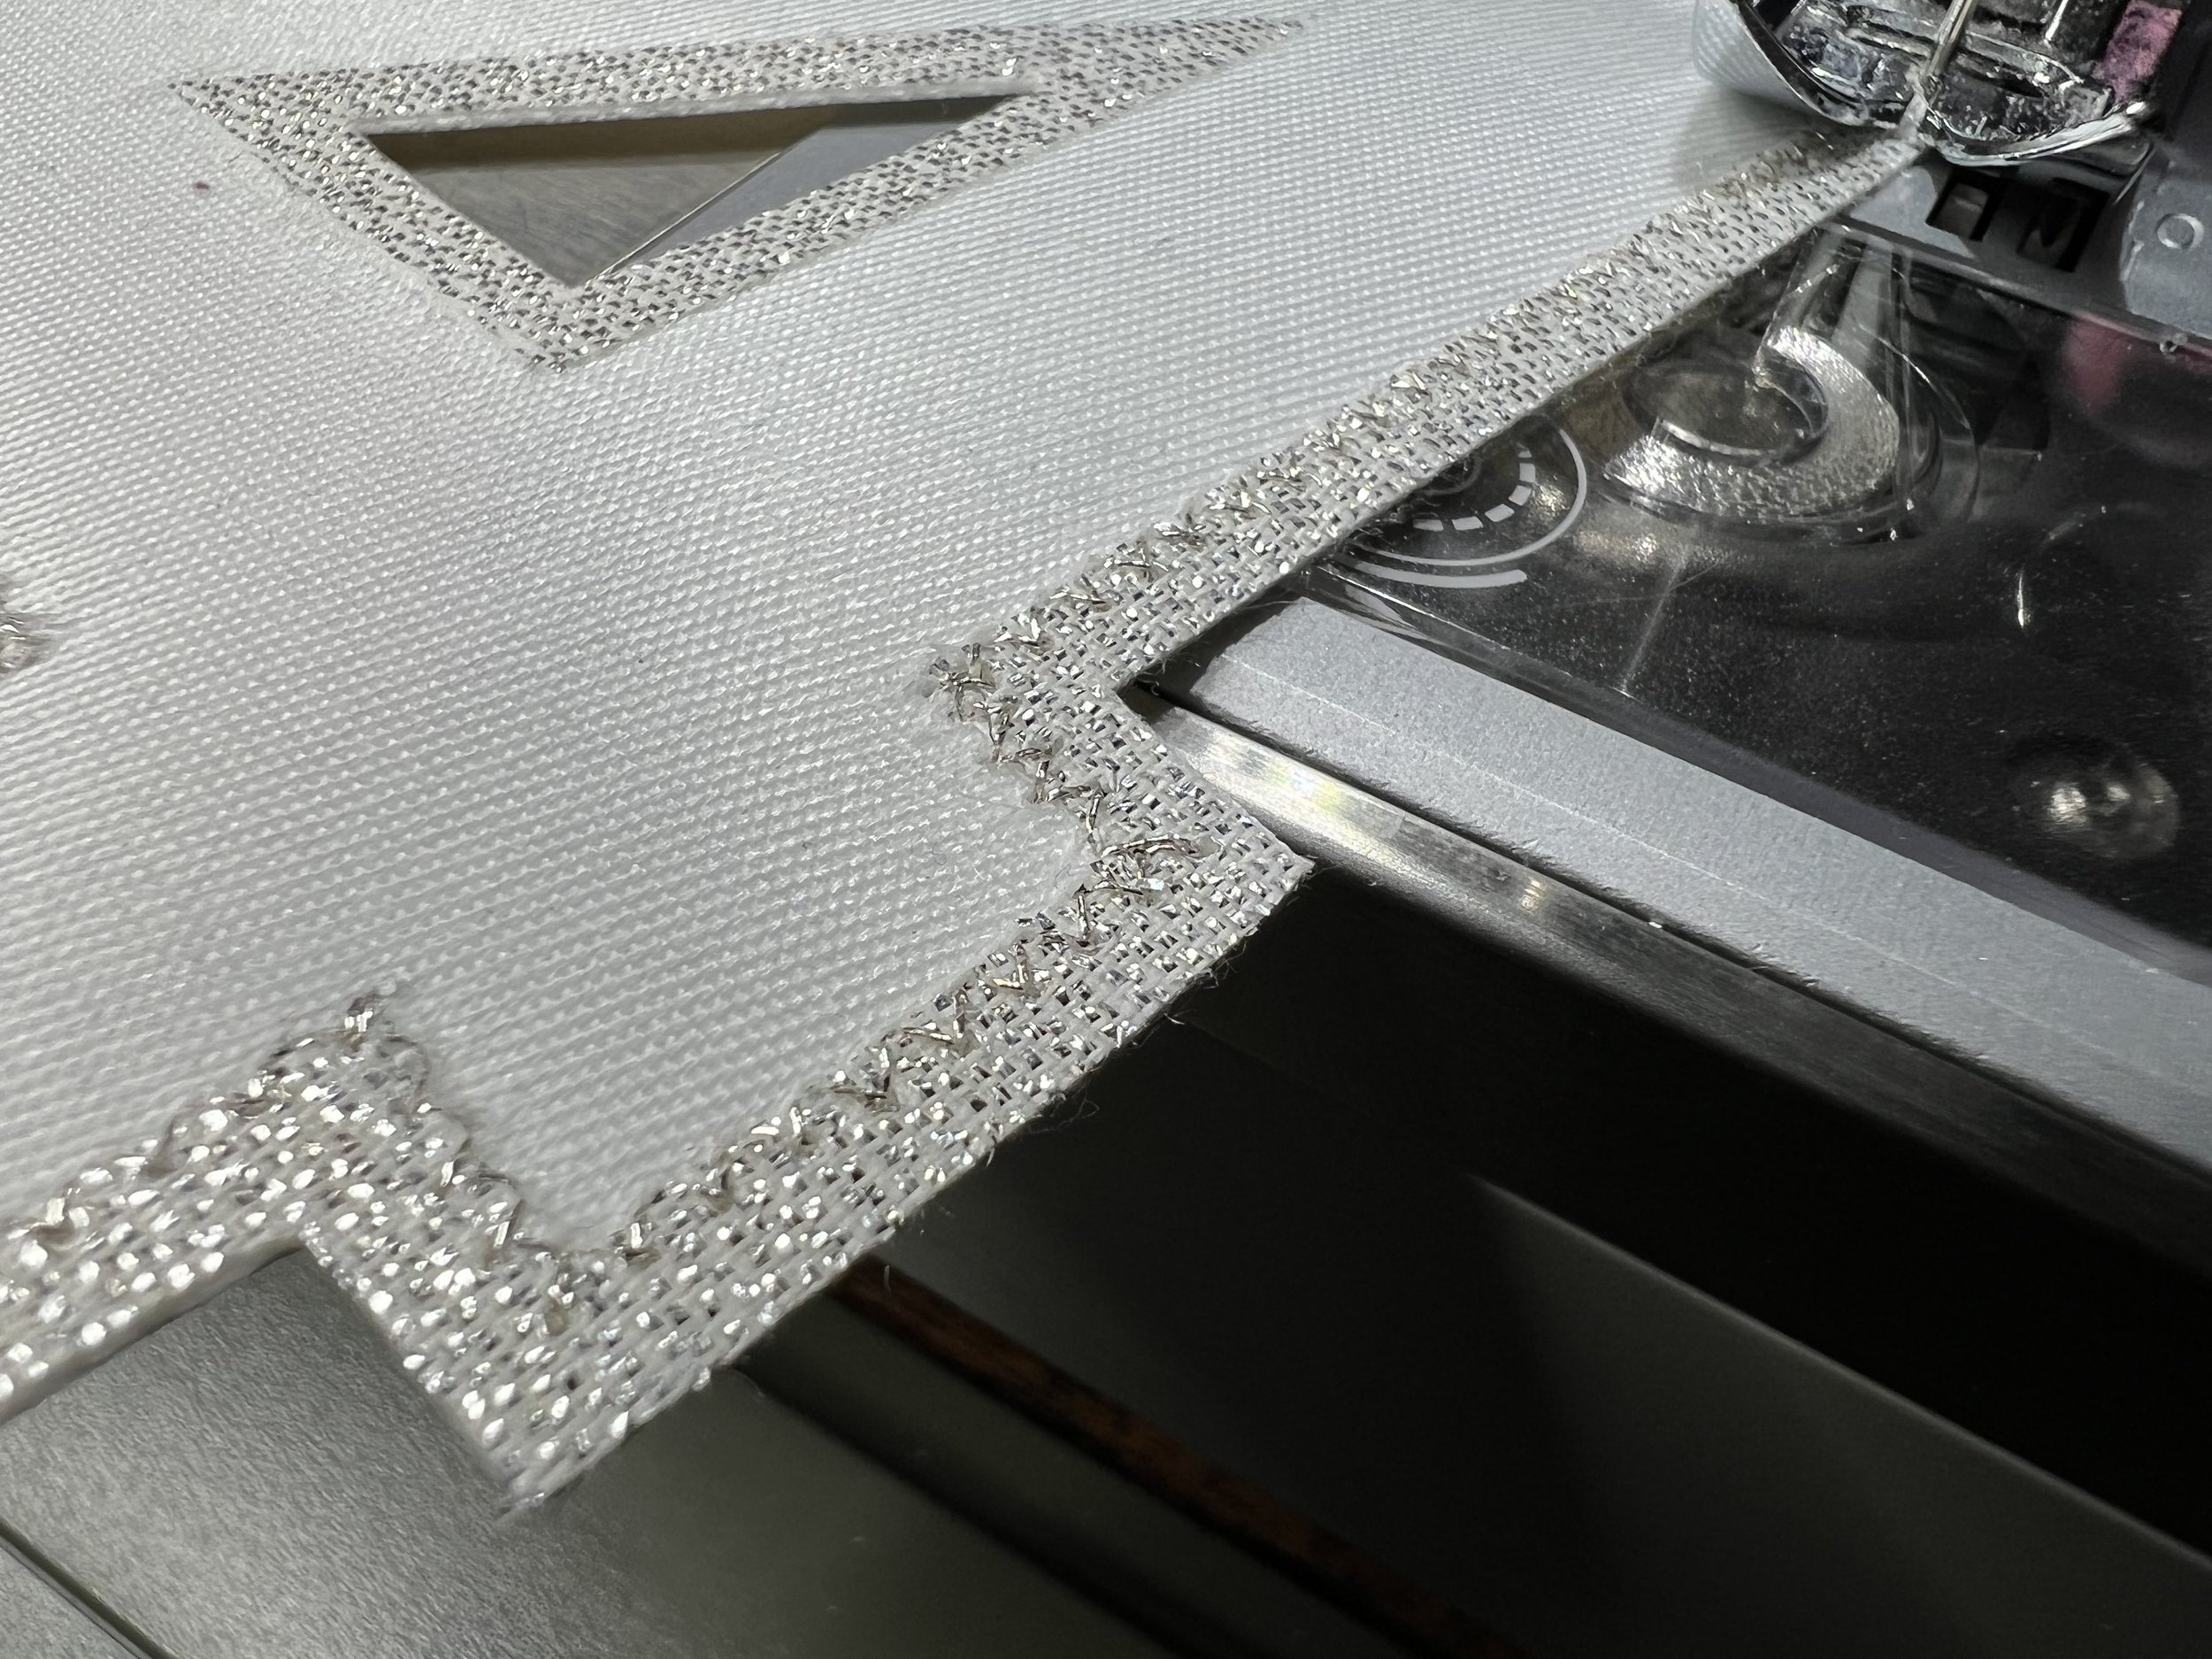
The next hurdle I had was how do I align kits properly, and mark it on the jersey? Most conventional wisdom says to use either chalk or some bar soap - but there’s a problem with that. Those things are white, and I was working on a lot of white jerseys, so it was incredibly difficult to see what I was doing. I grabbed a basic pencil, but that proved to be a huge pain in the butt to remove. Colored soap was too chunky and inaccurate for my taste. I started looking around online and found these washable blue marking pens on Amazon and gave them a whirl. They’re amazing, and wash completely out while allowing me to be super accurate.

Dunning-Kruger hits hard.
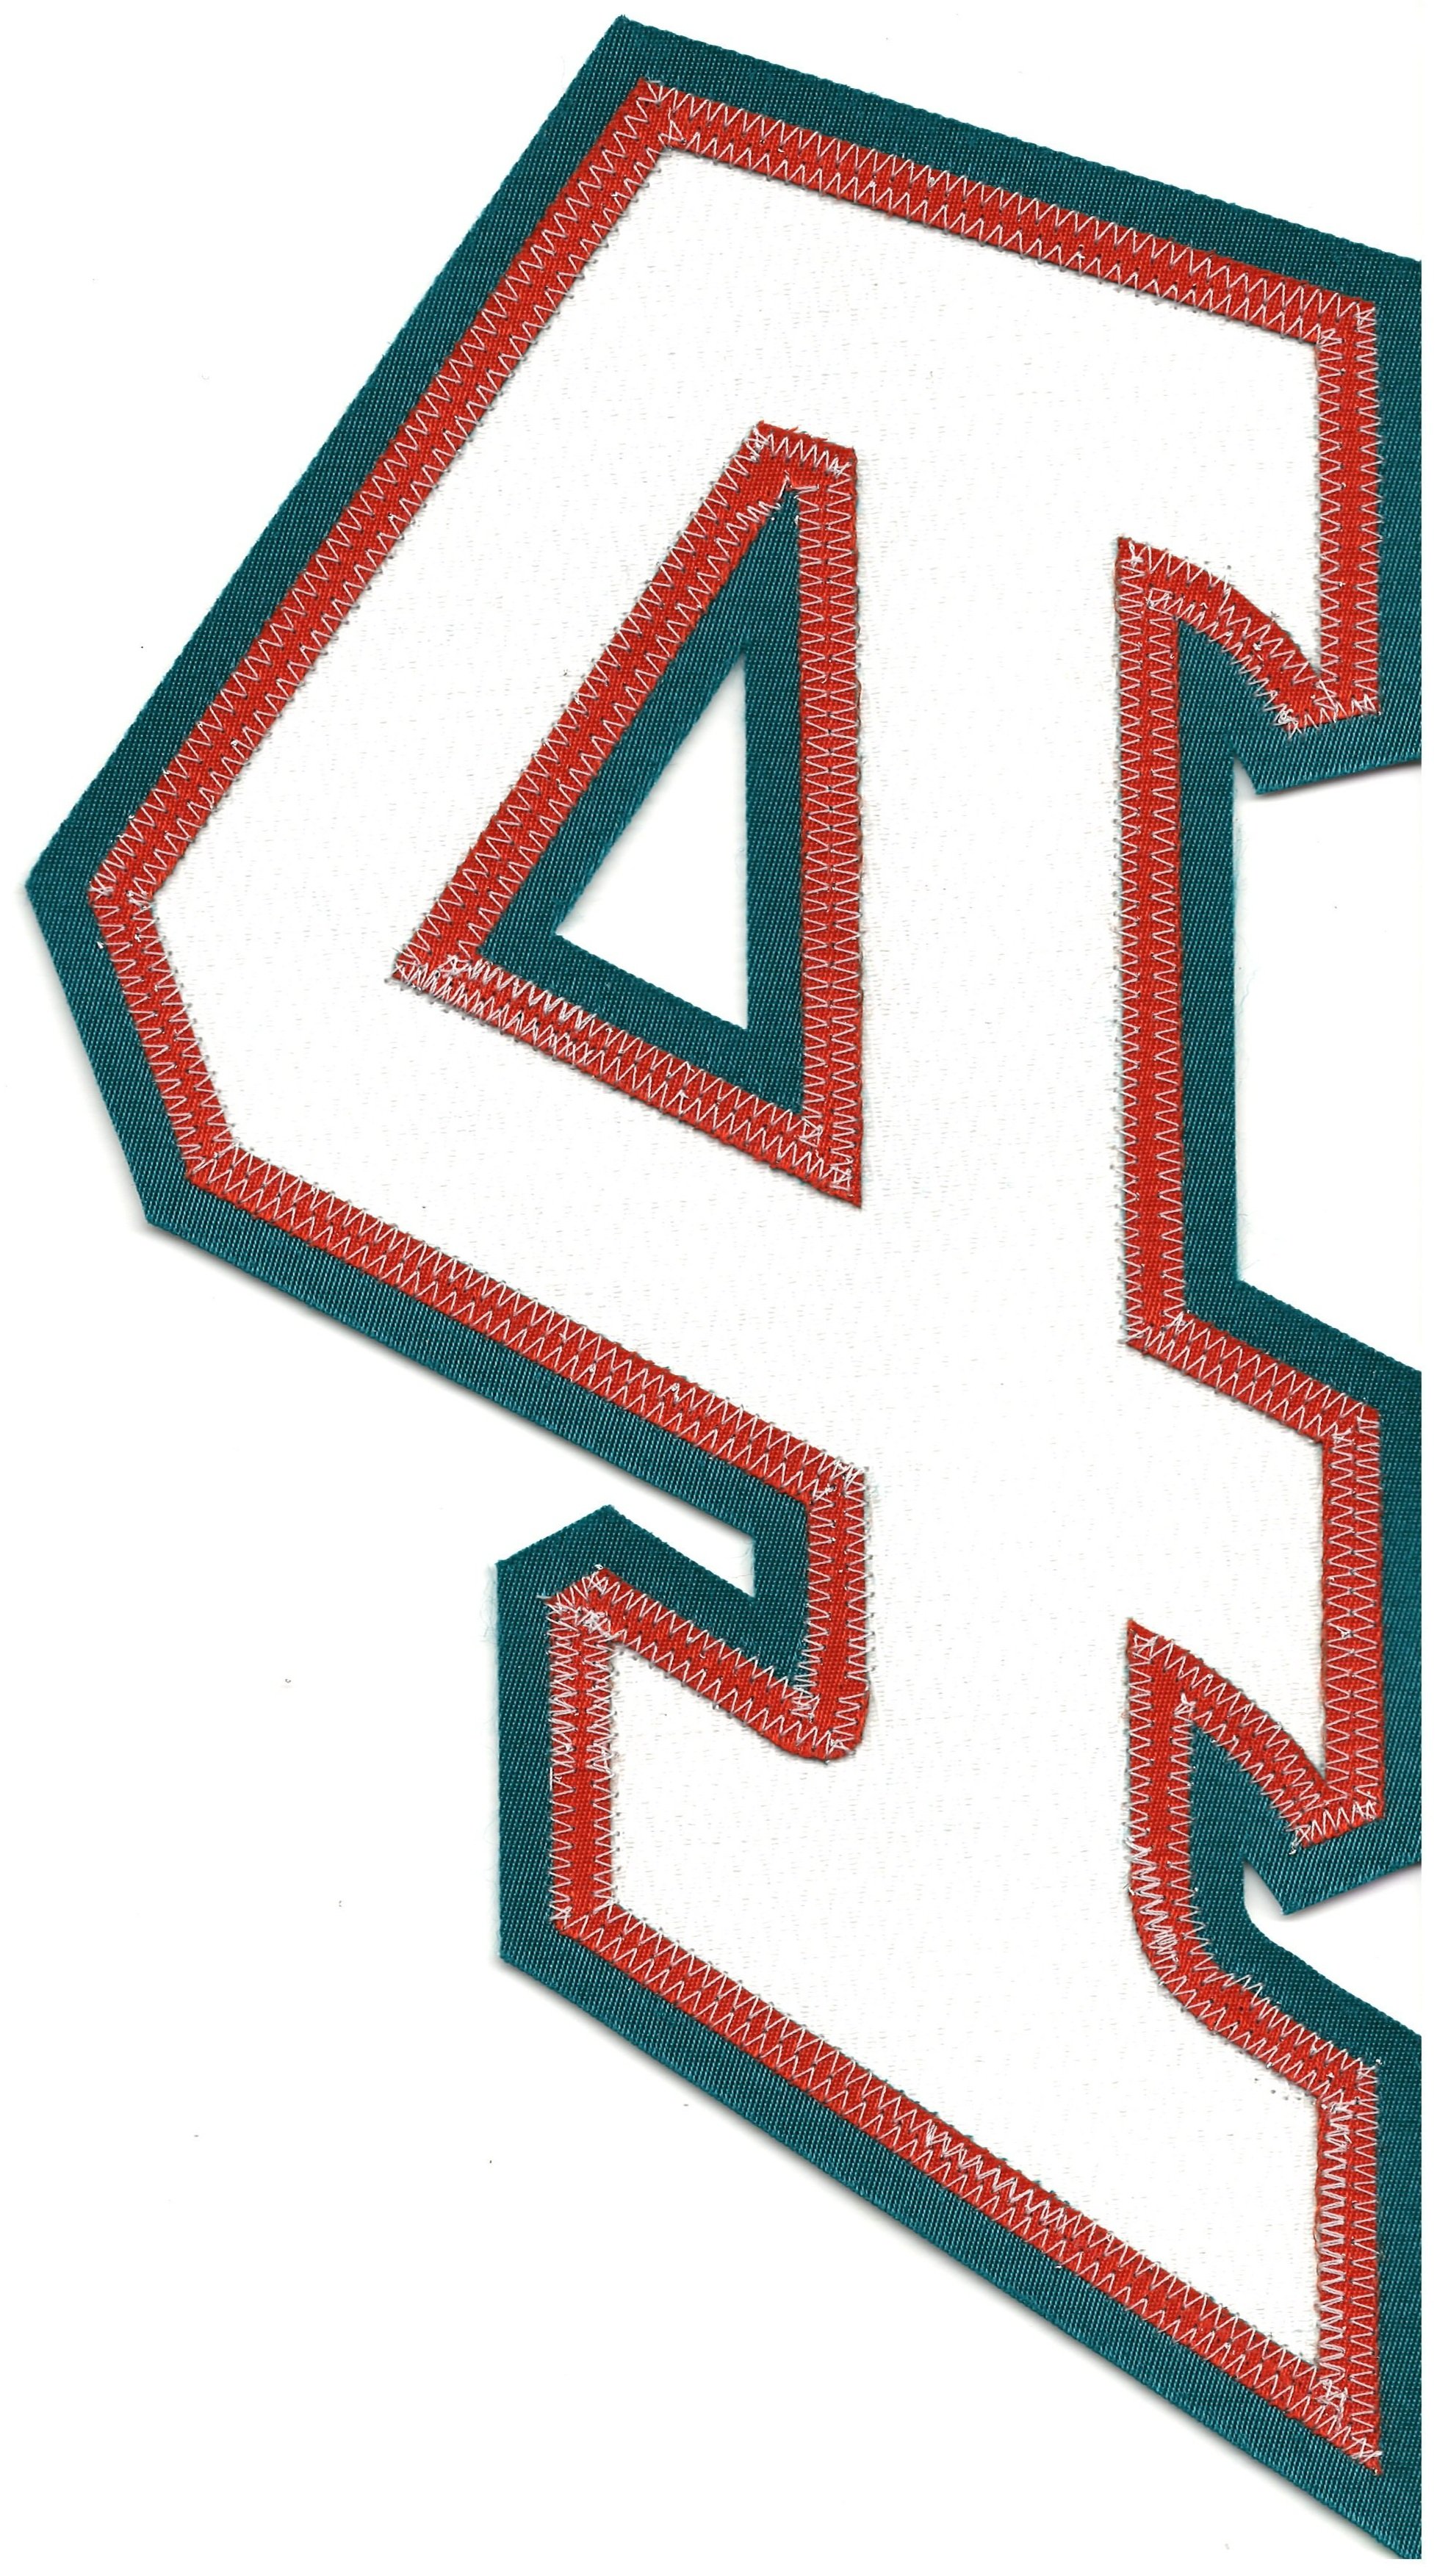
Here I was, thinking I was doing a good job, so I took on some more interesting, non-standard kits. Things like big curves (Arizona) and super narrow reverse kiss cut kits (2020 ASG). When they talk about the Dunning-Kruger effect, they’re not kidding. These kits absolutely kicked my ass back to square one and I had to practice practice practice on them to get to a point where I wasn’t just mad at myself.
Just keep swimming
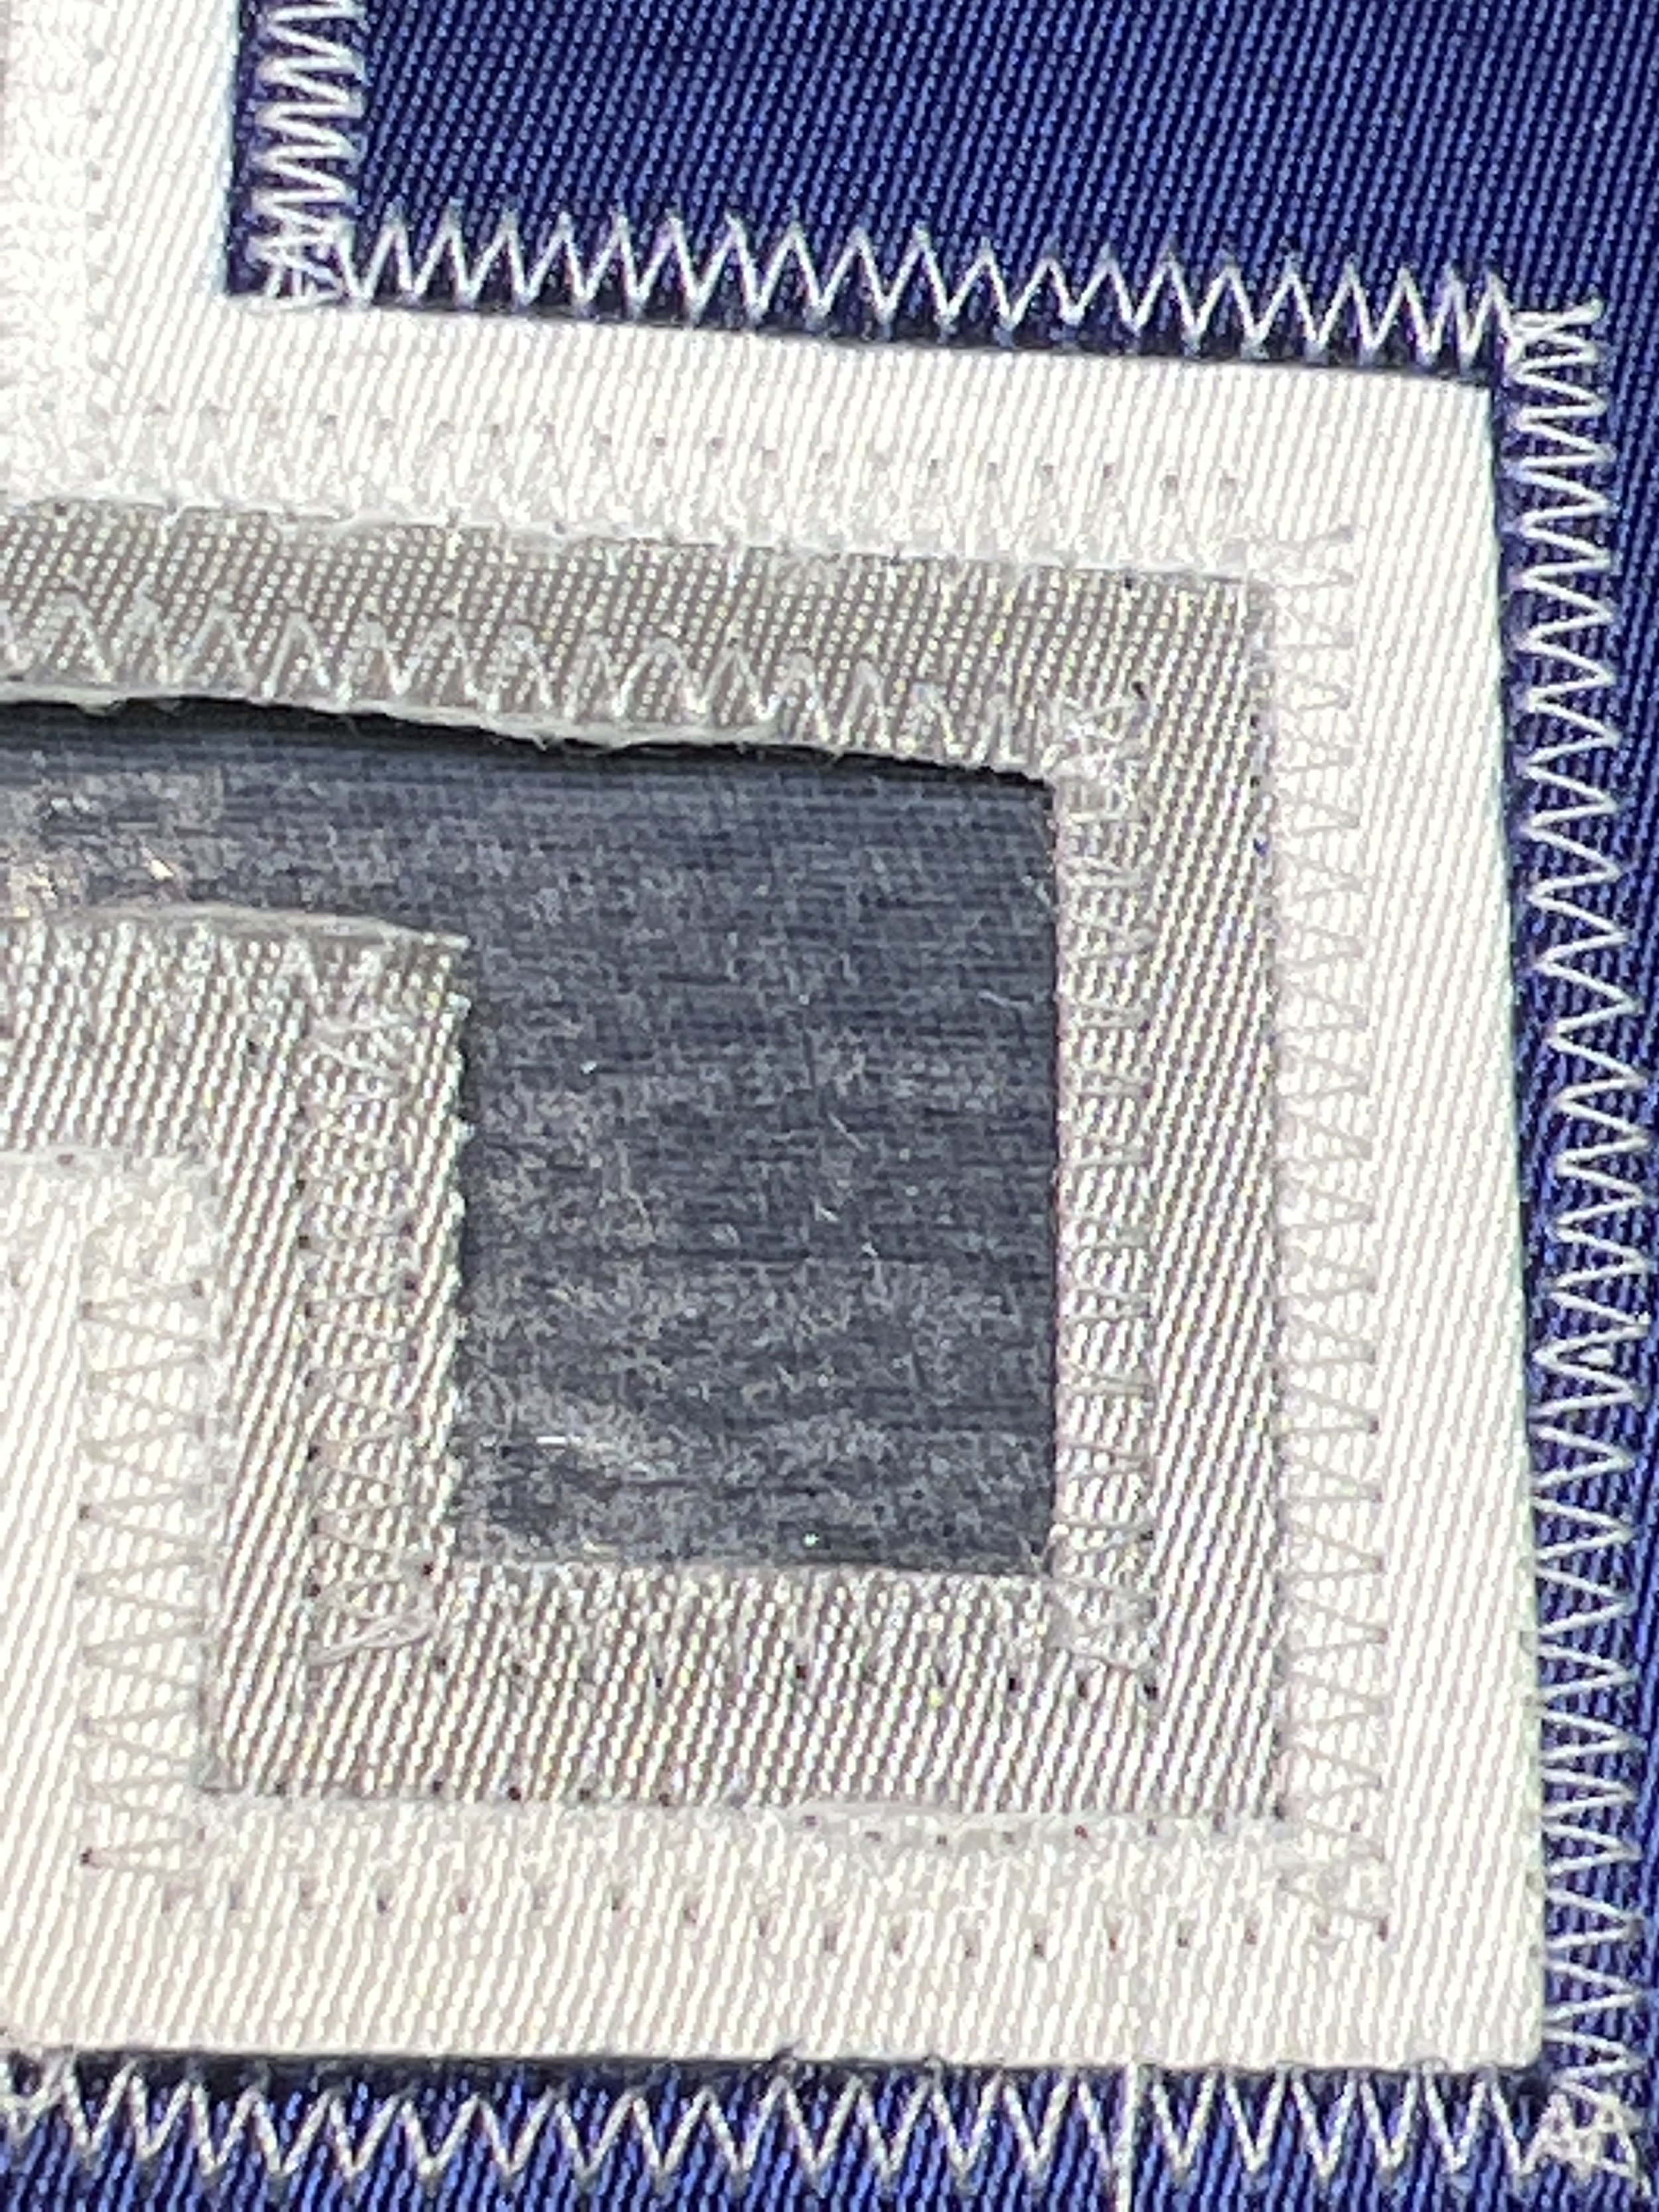
I started really paying attention to things like stitch width, and trying very hard to absolutely nail my corners and angles. These were probably one of the most important things to get right as the devil is in the details on this stuff. Straight lines are great and all, but if they corners are garbage then it drags the whole thing down. I kept referencing the Stahl’s stitching guide and practicing more and more as I was assembling kits for the projects I was working on. I started to feel more and more comfortable and felt like I was making great progress in becoming more accurate and clean.

Oh yea. It’s all coming together.
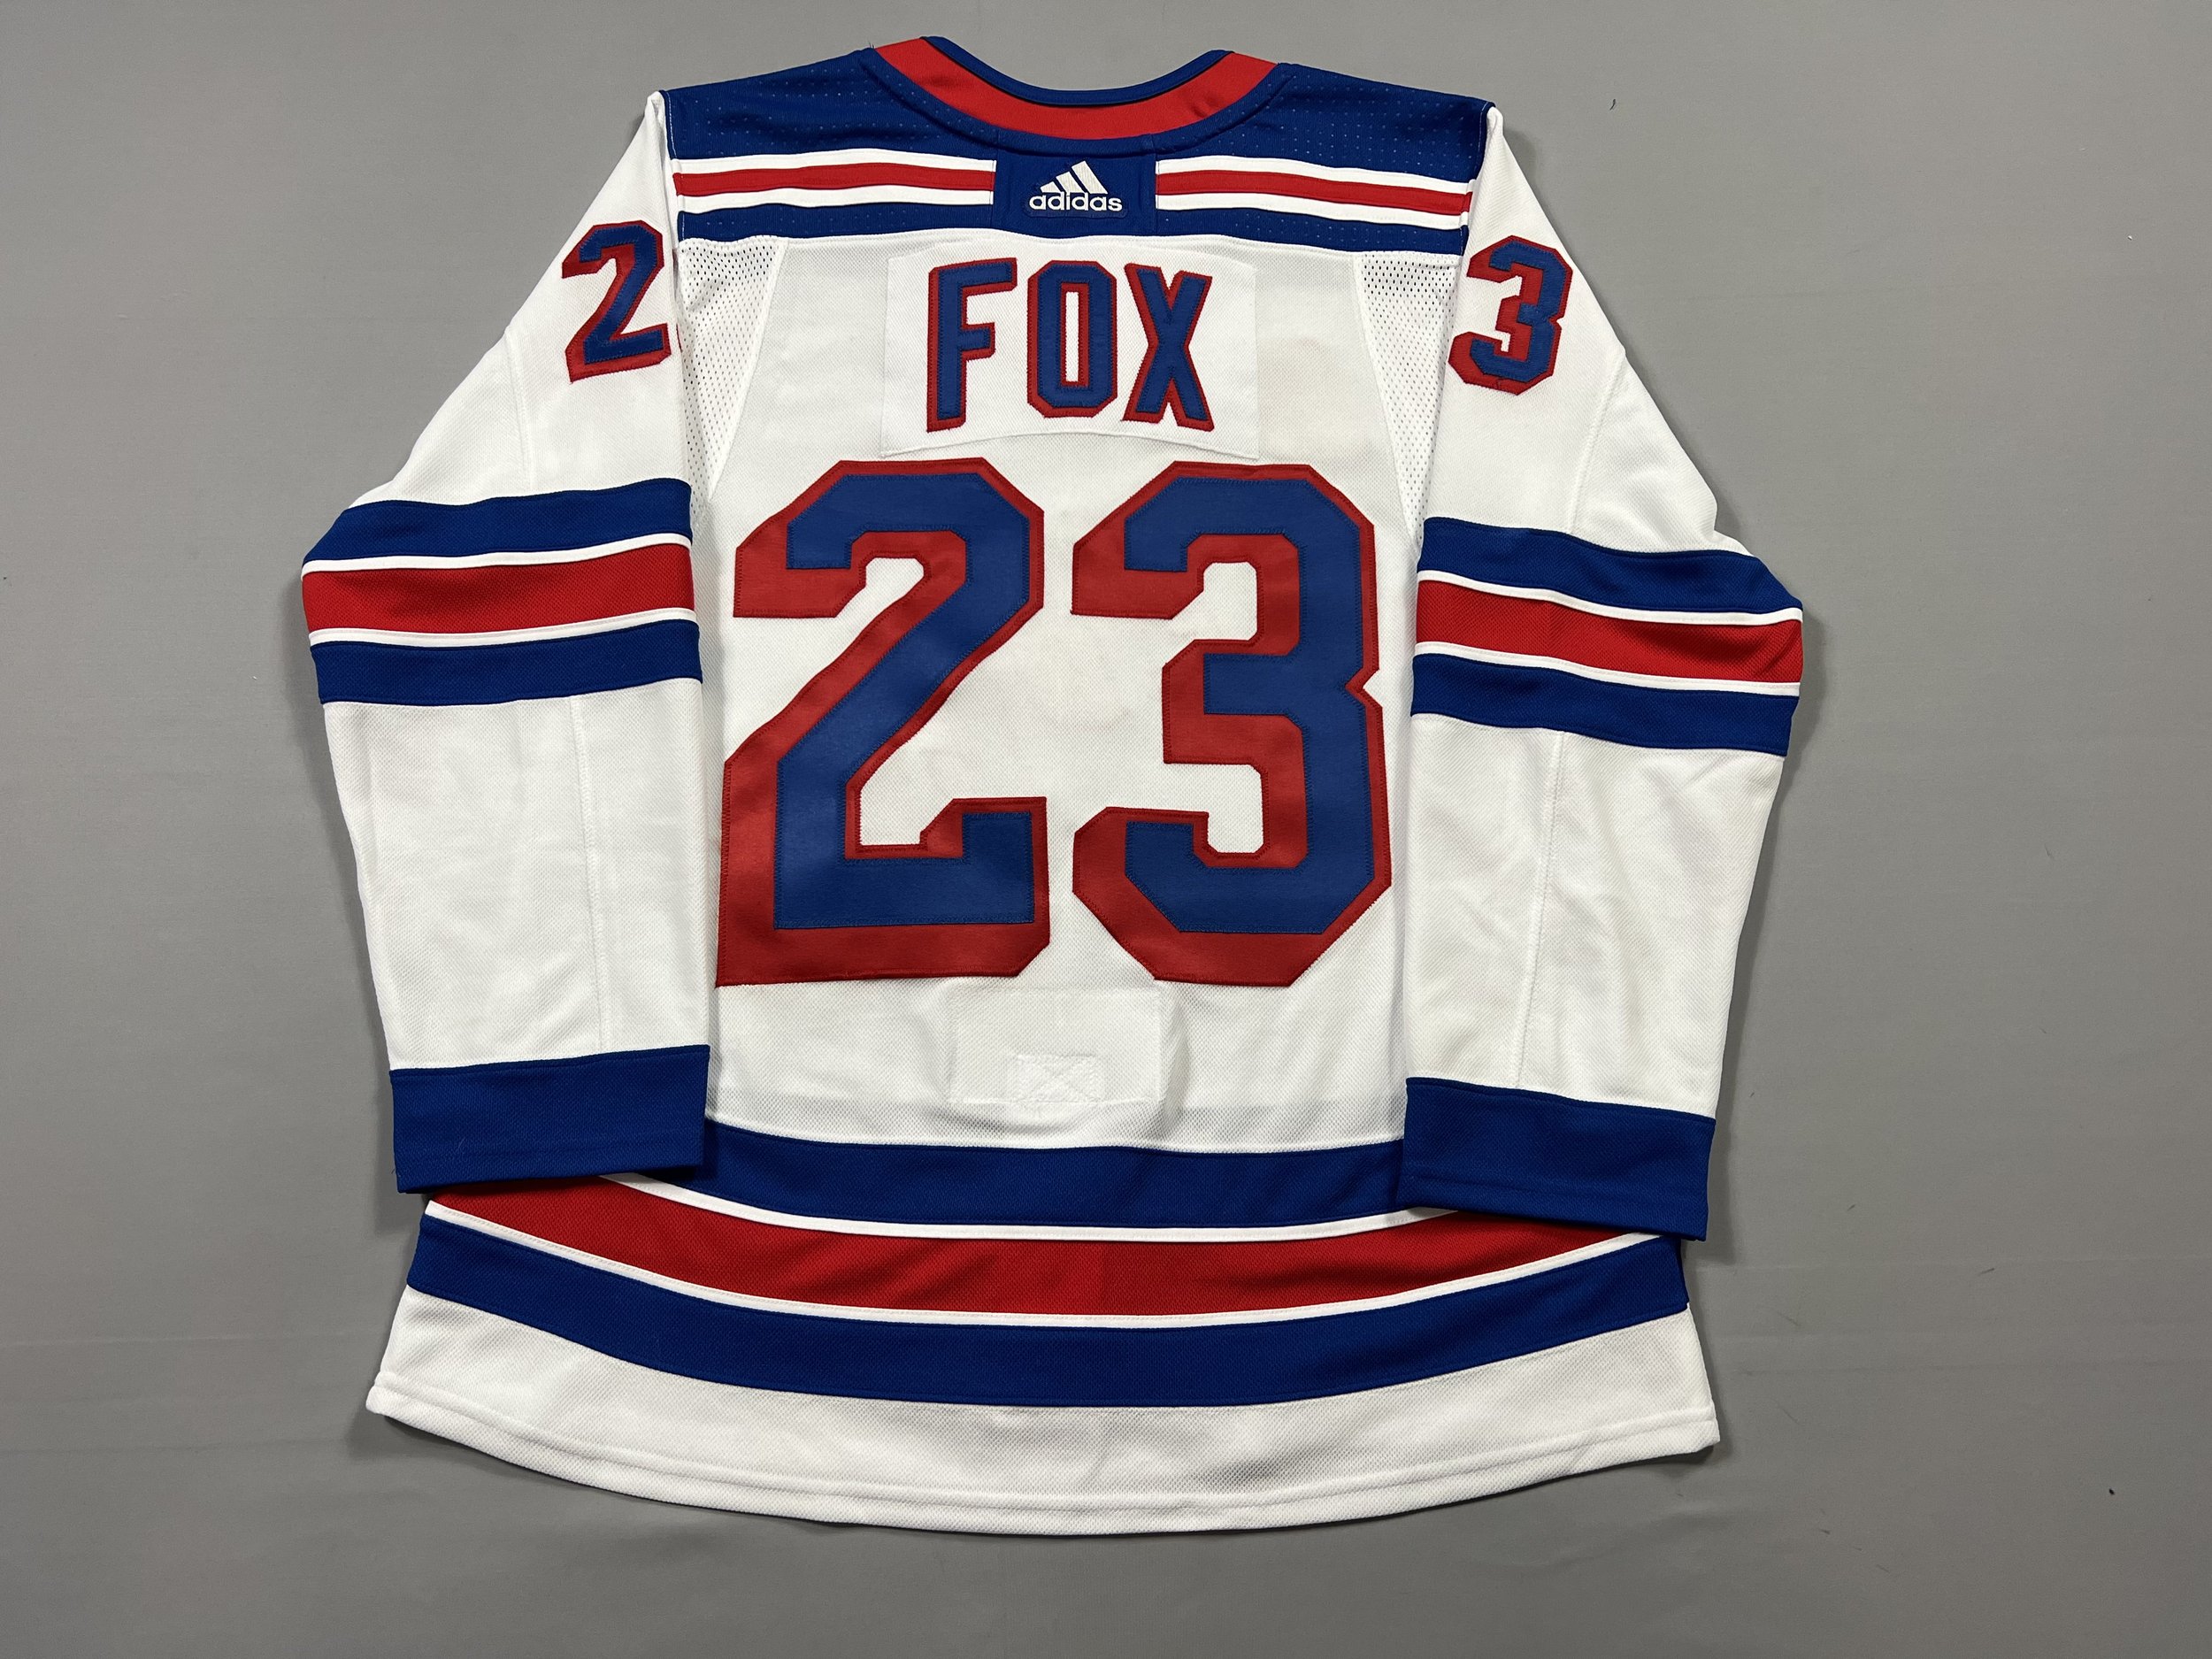
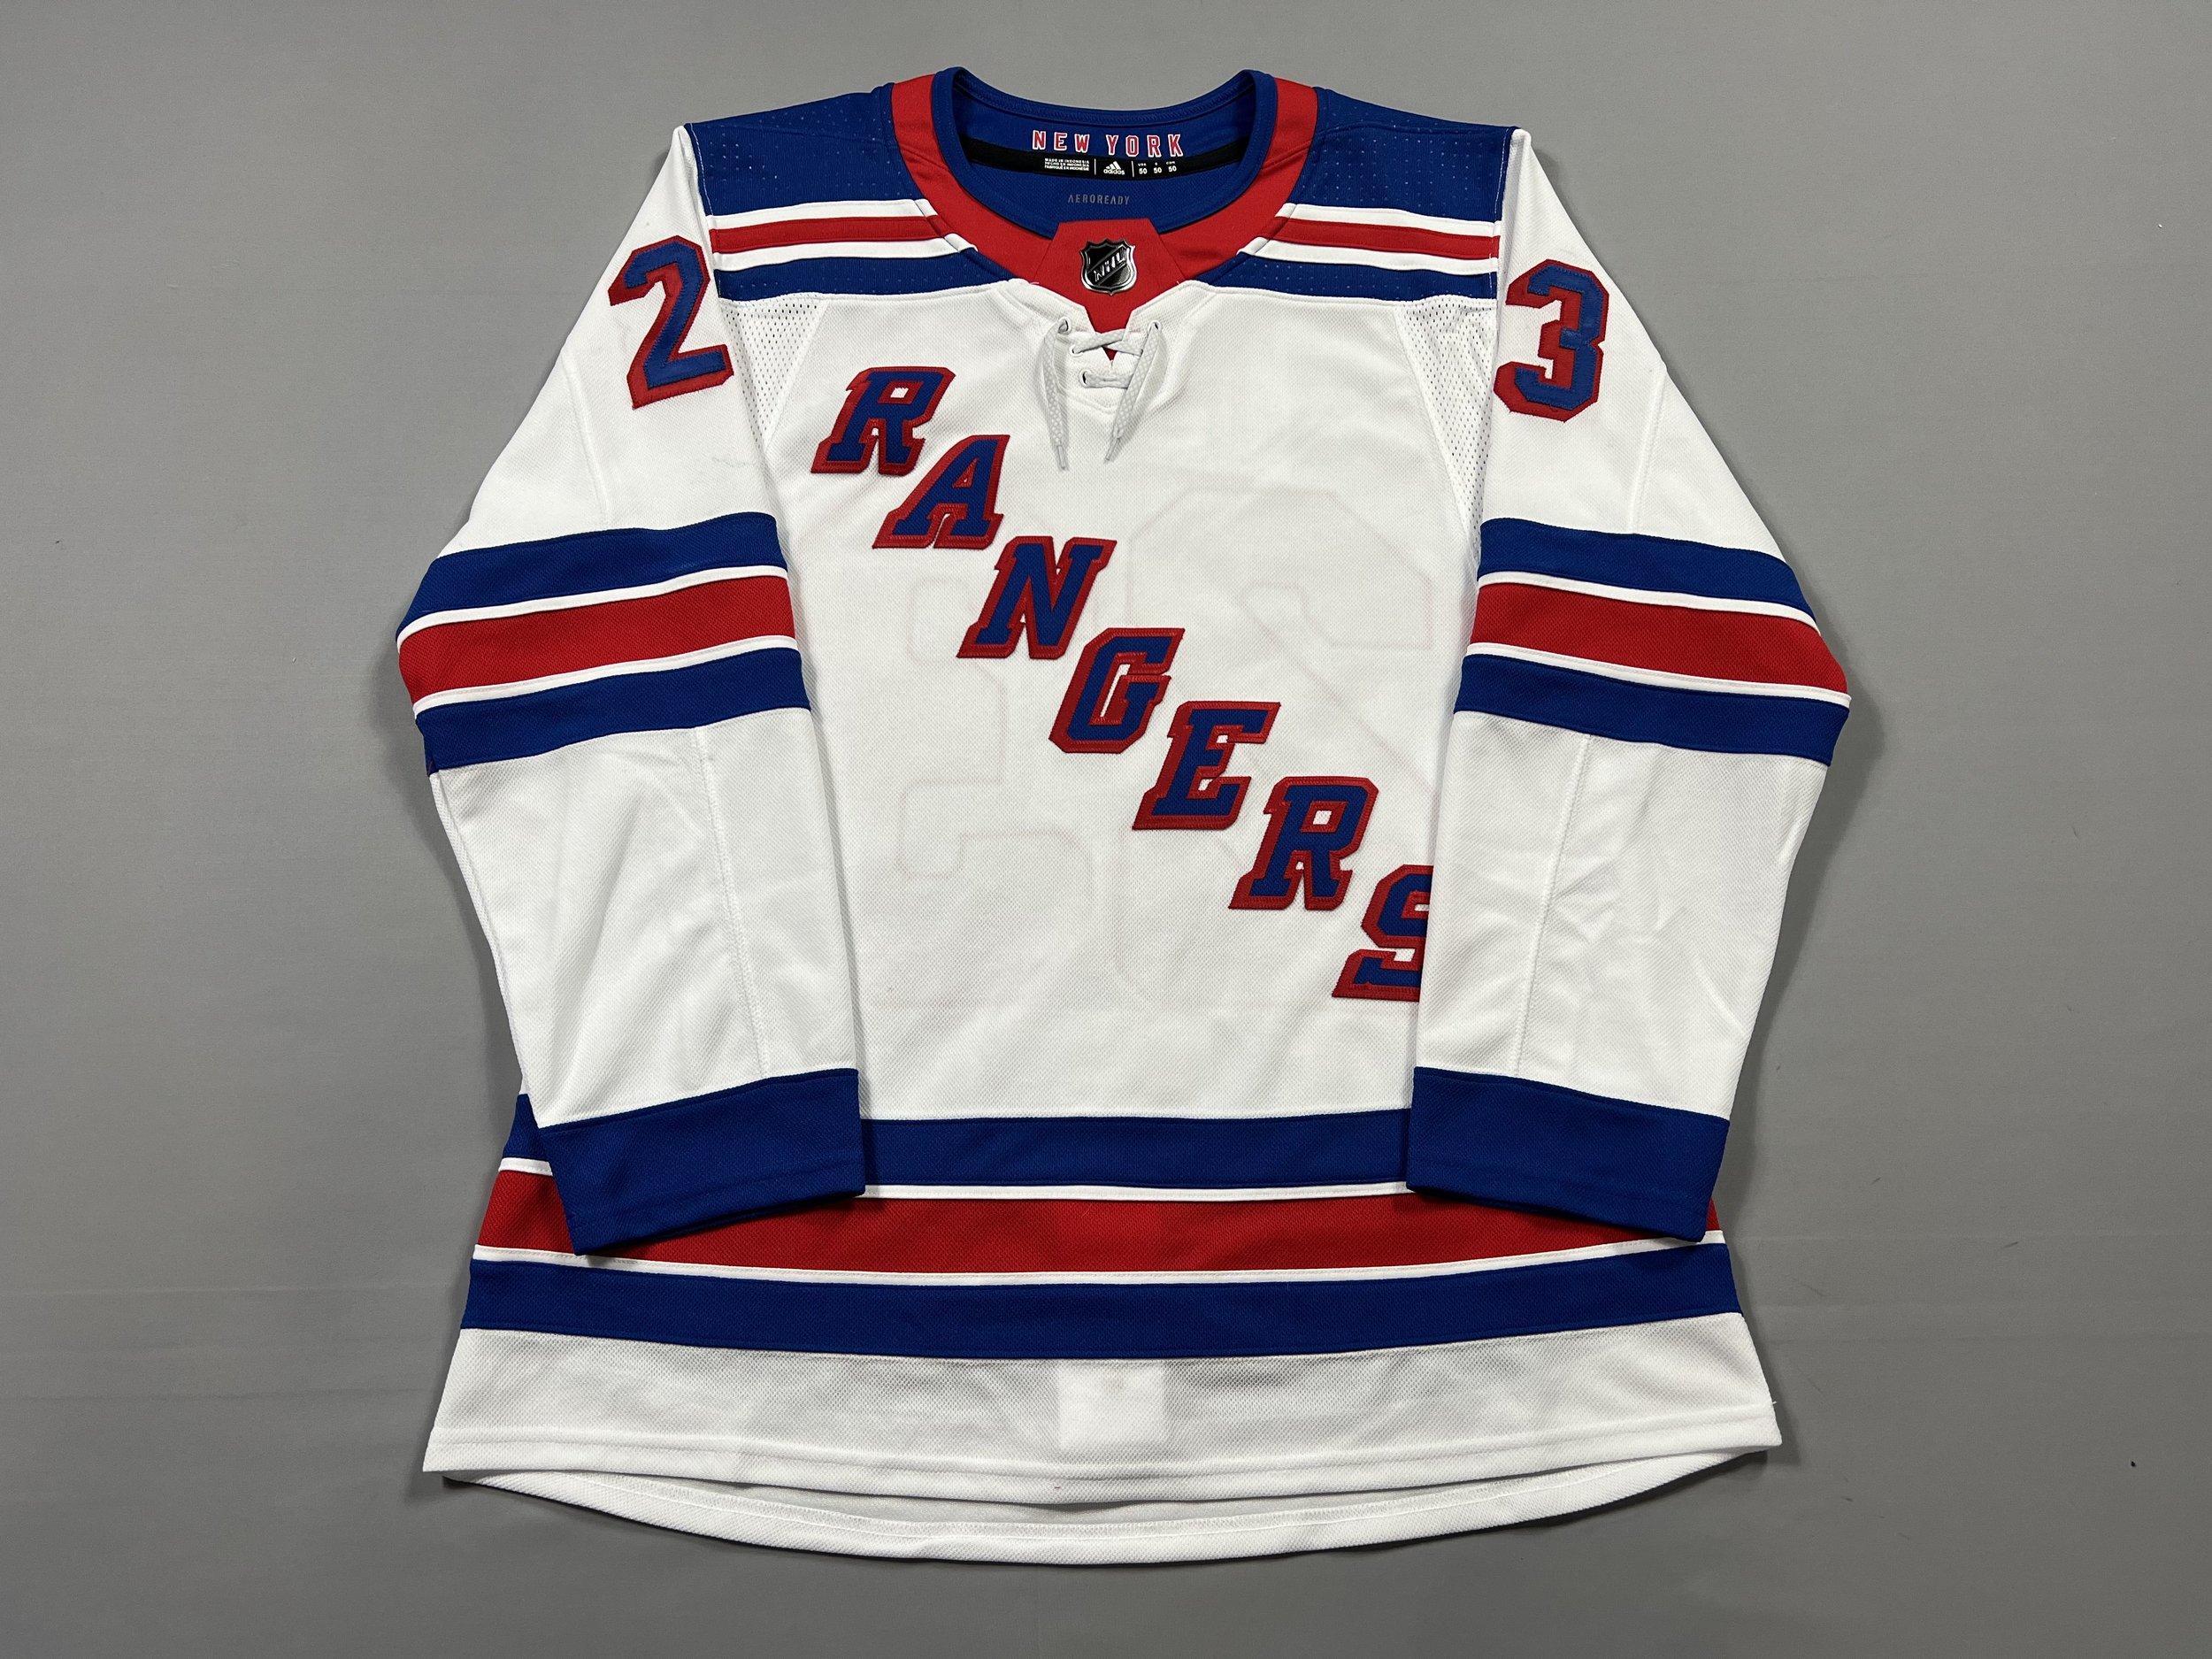
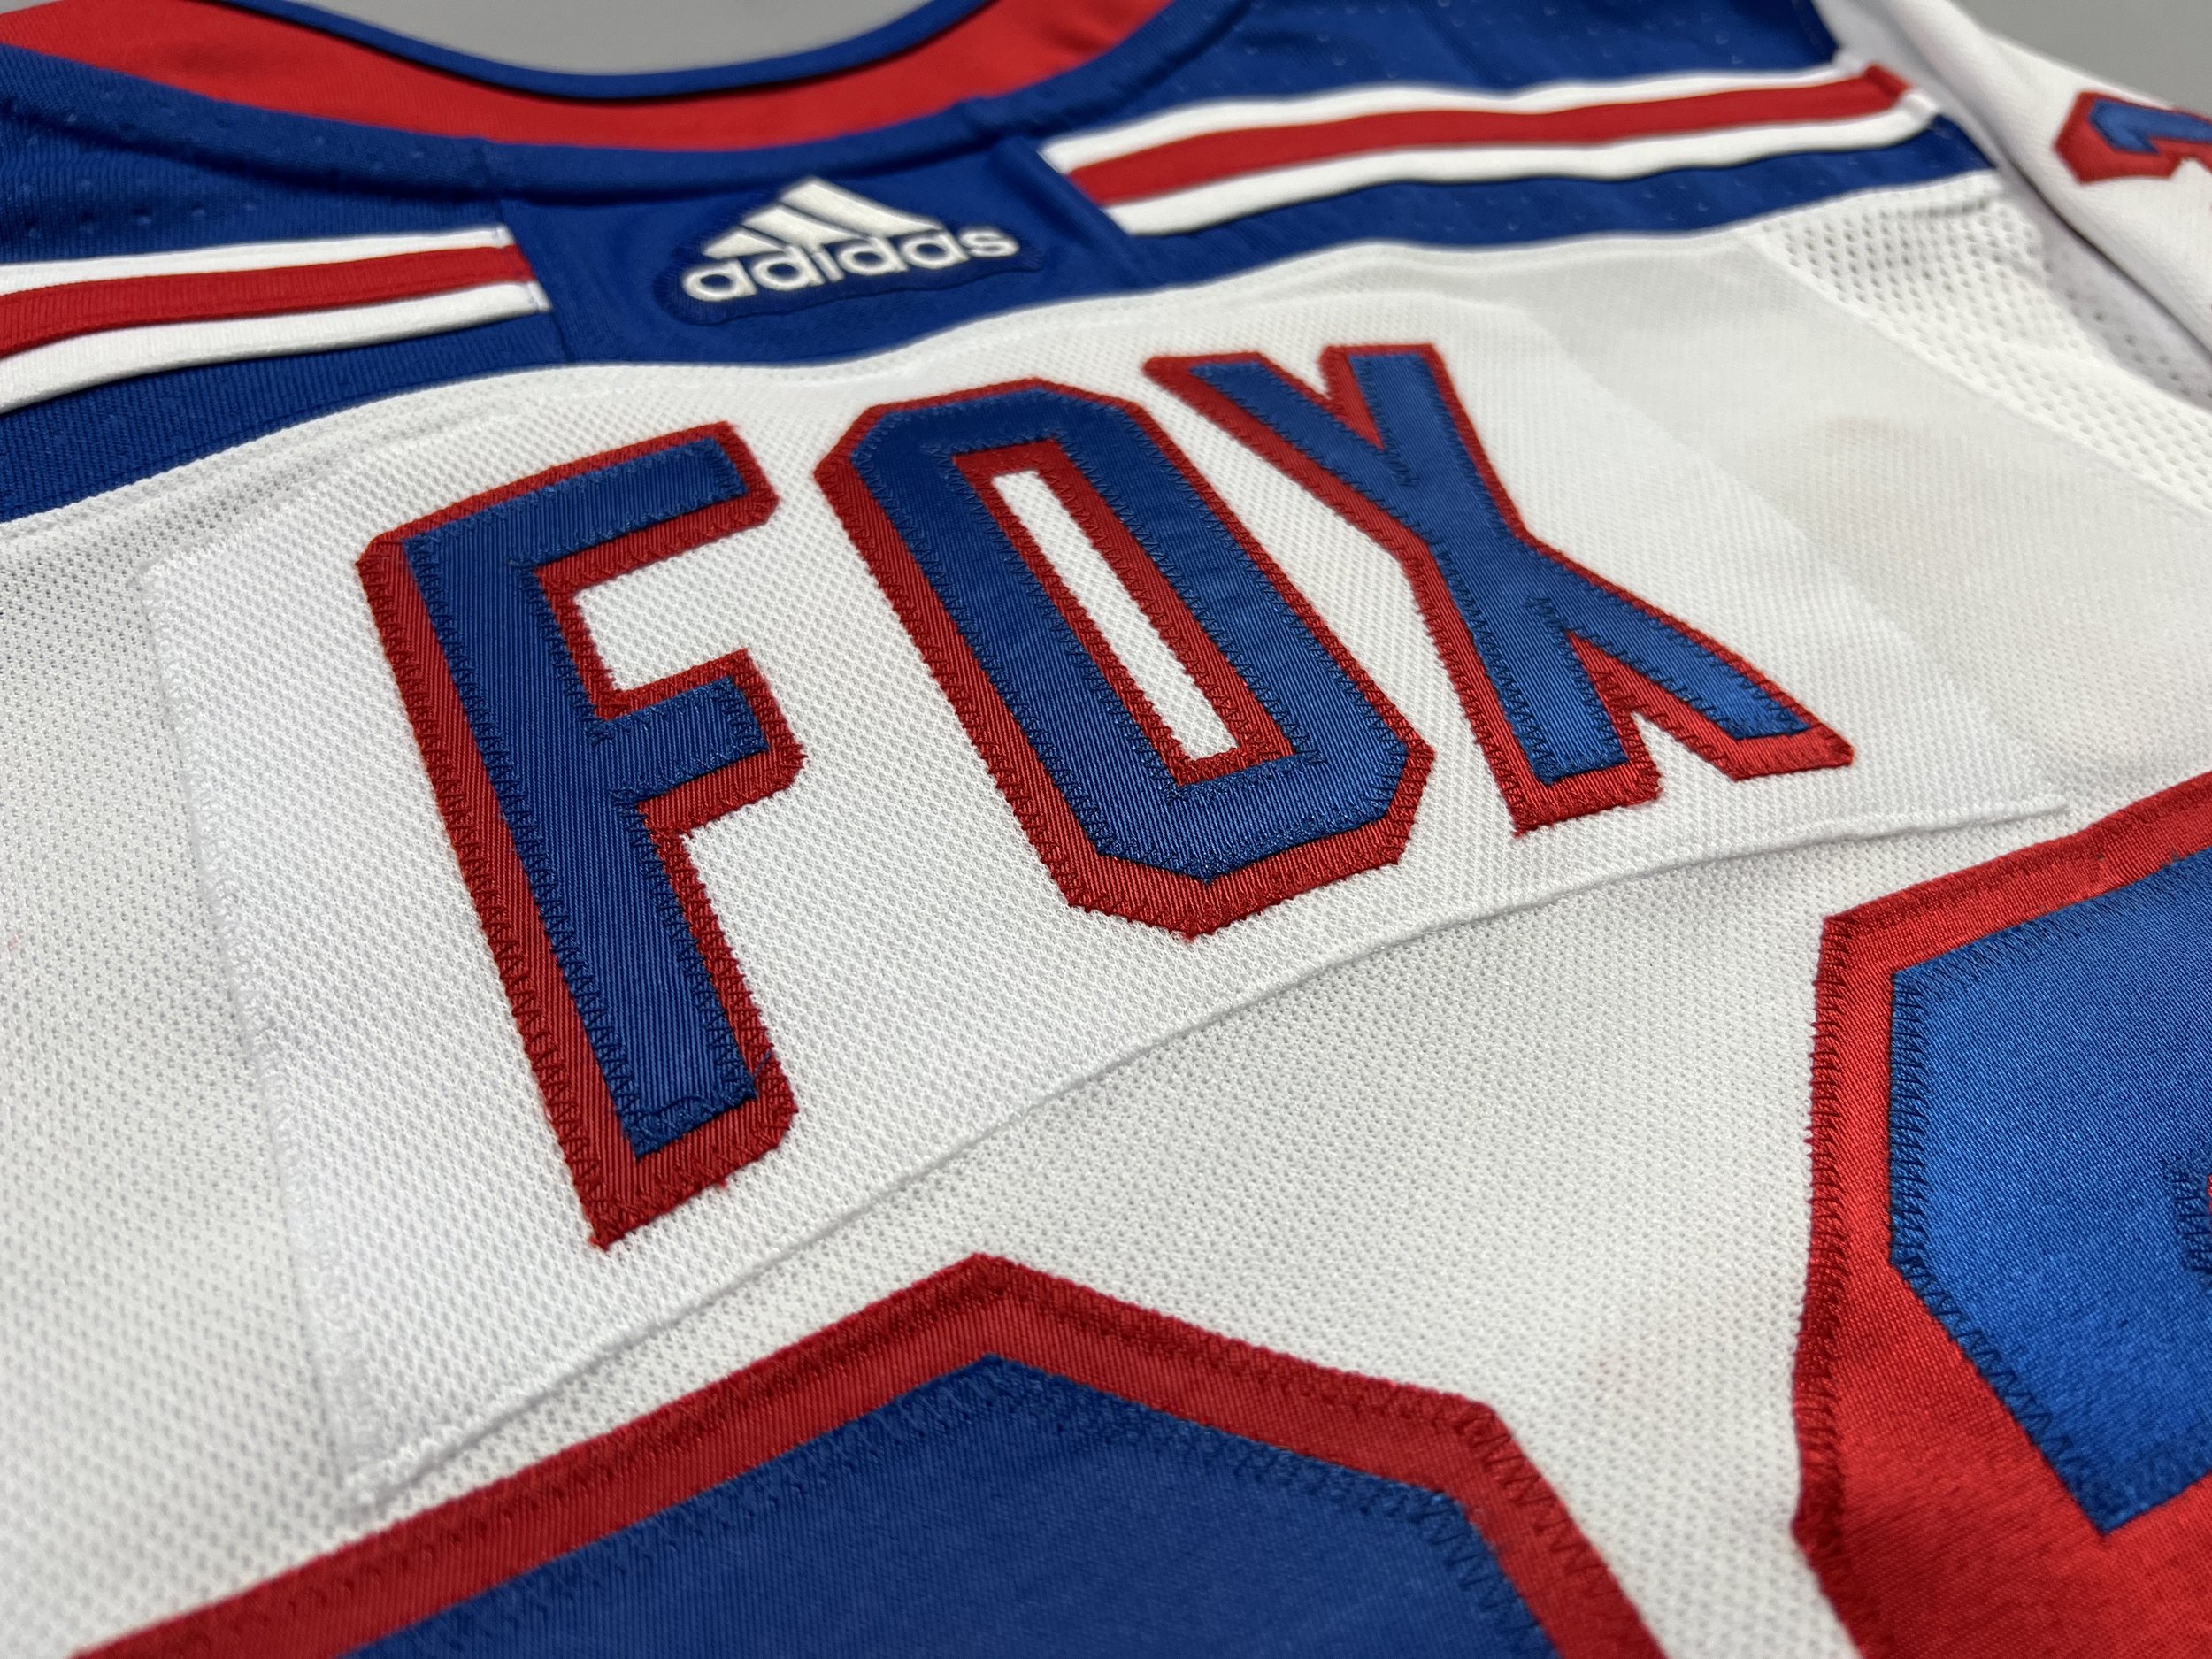
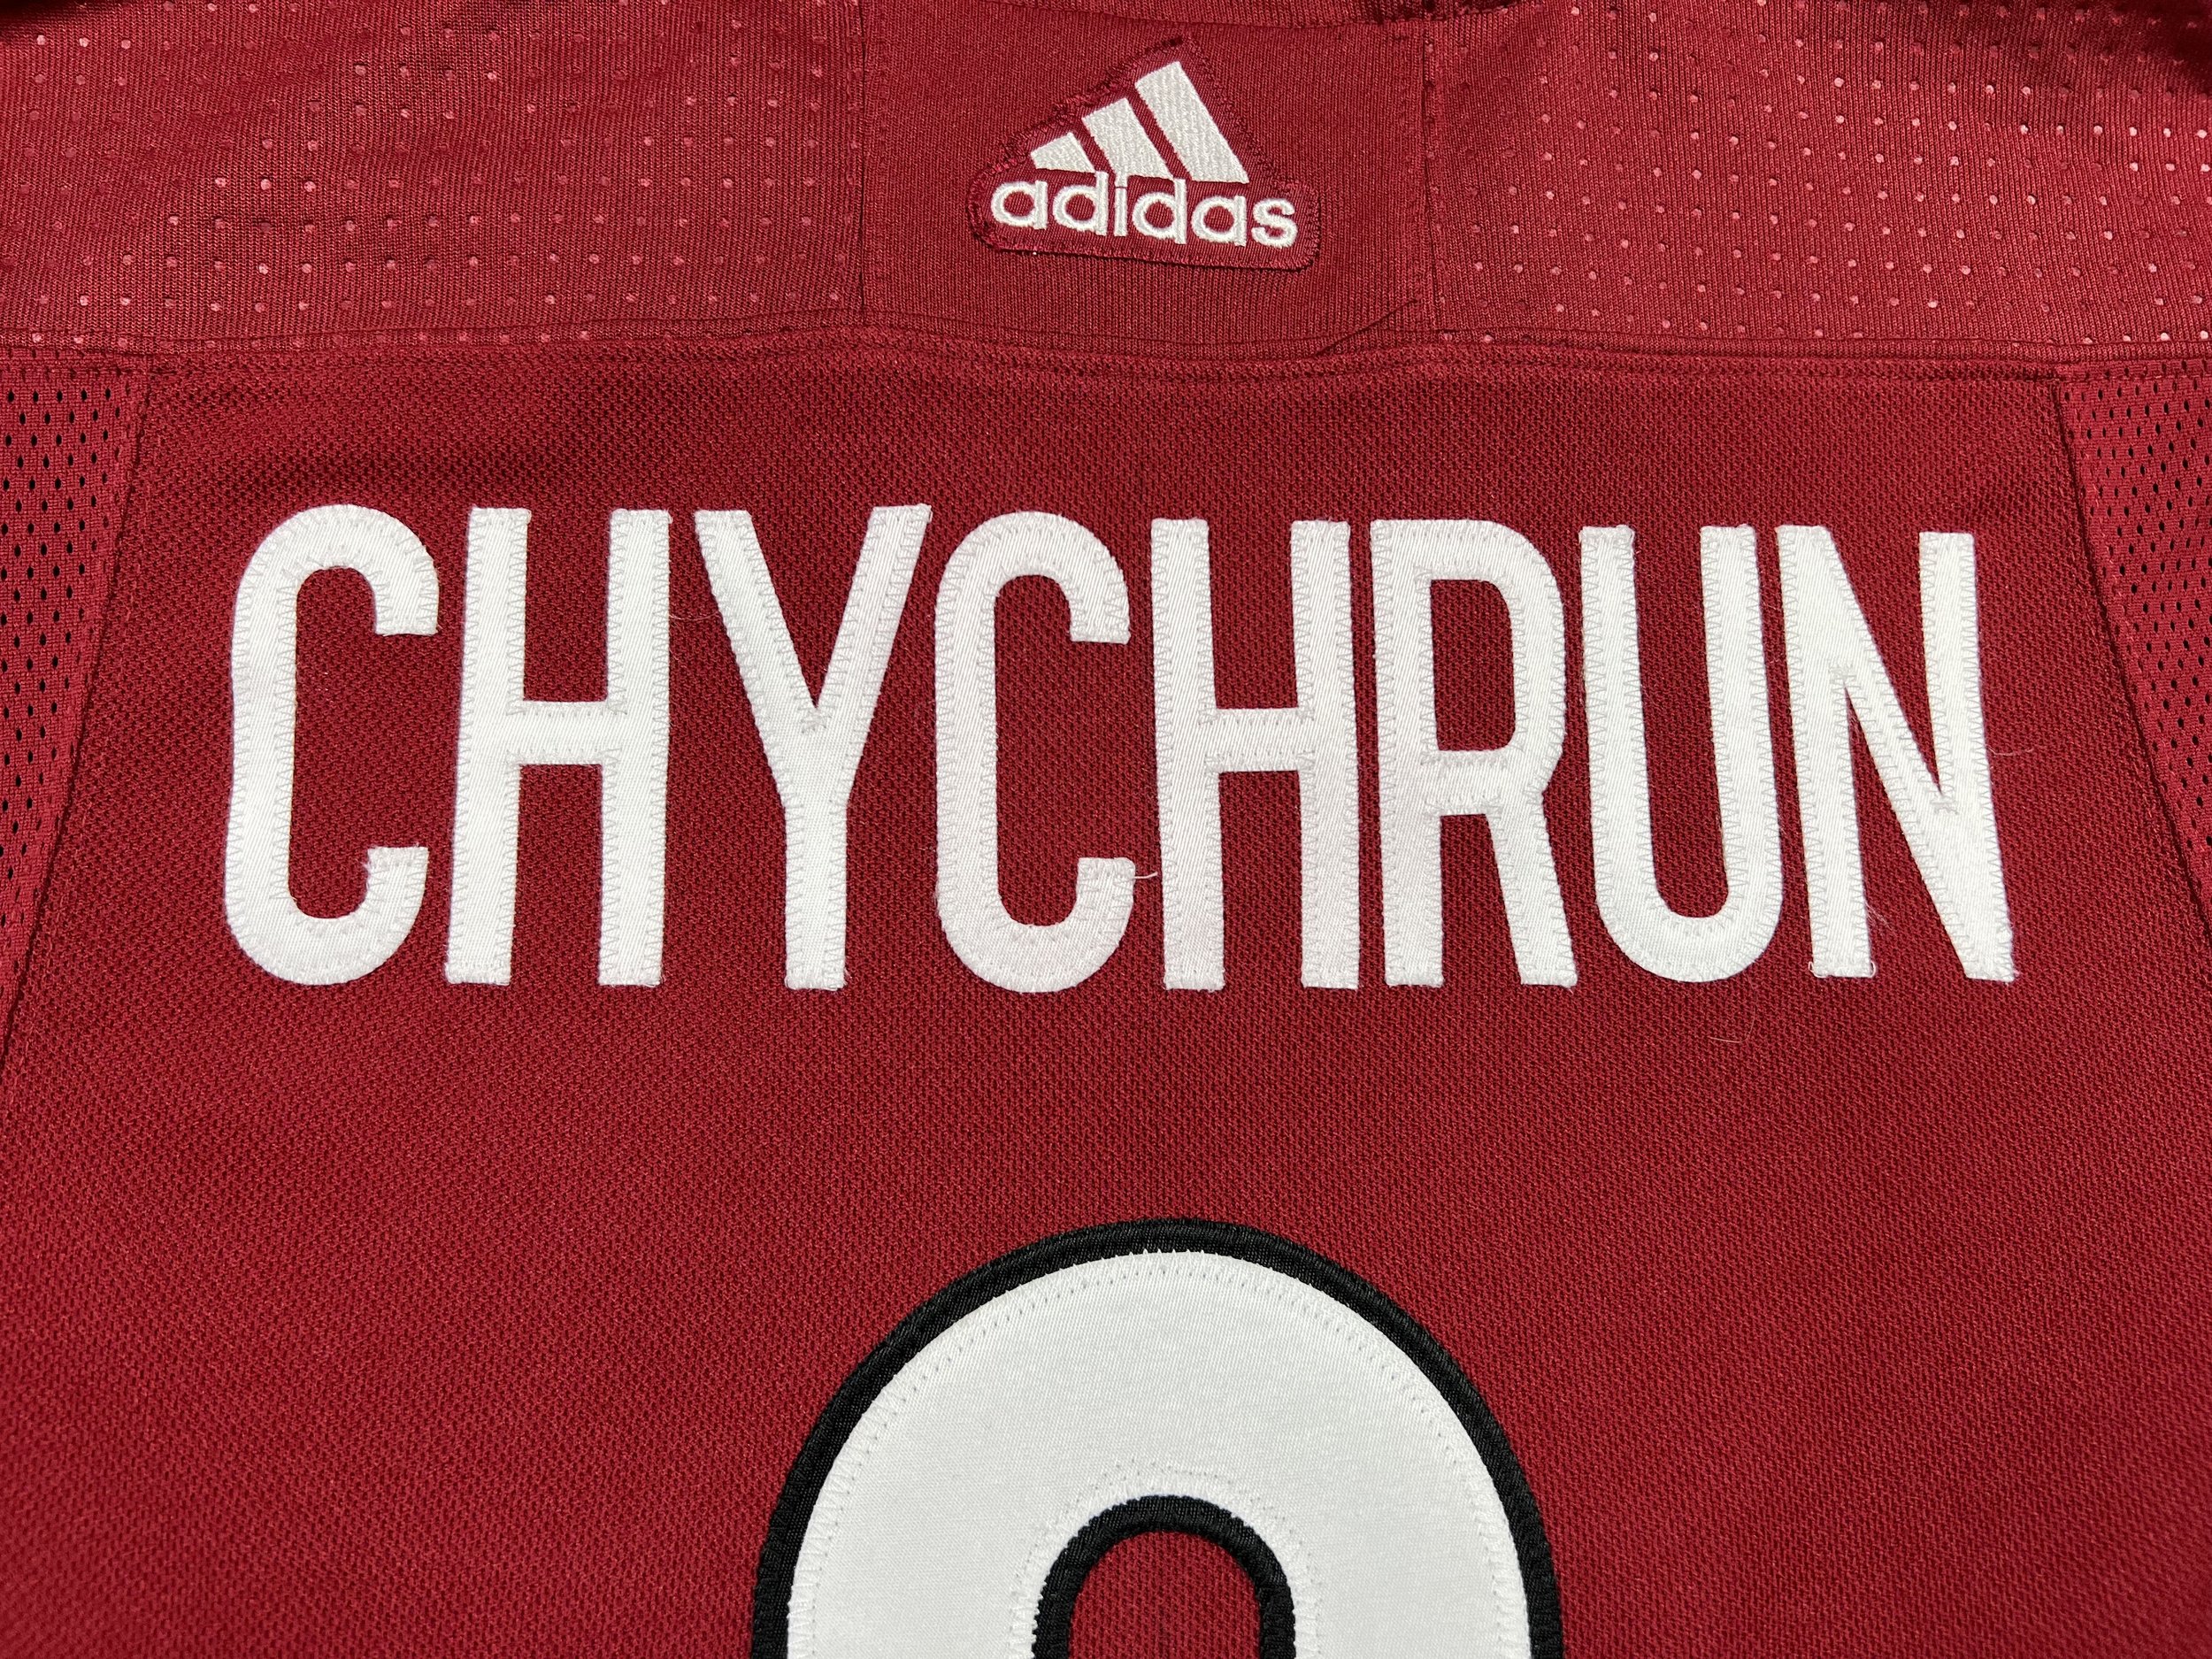
I finished my Jewish project, and finished up a few other miscellaneous jerseys that needed new kits. I had a second Rangers jersey that needed a new kit, and I threw the Bread Man on it…and listed my site for sale! I finally felt confident enough in my work that I’d be satisfied if I ordered it from someone. When it sold, I was even more happy - someone trusted my work enough to pay for it? Crazy.
What’s even more crazy as that as I was doing this, I started to really enjoy it. I could sit down, focus on a task, and the results were always satisfying. I could knock out a customization for something that would cost me a ton in time and money in a fraction of those, and have it look pretty good! There’s truly something to be said for instant gratification, especially for kit assembly.
The Announcement
This brings me to the final part of this blog - I’m going to start offering stitching services! It’s something that a lot of people have asked about for quite some time, and I’m to the point where I’m pretty comfortable doing things. I’m going to keep pricing pretty simple for now, just focusing on how many layers I’m going to have to do. Pricing is live on the Services page, and I tried to keep it reasonably priced.
I want to thank everyone who has helped me along this journey, and helped me to learn a new and cool skill to add to my set. Unpacking the big black box that was kit stitching was an absolutely worthy endeavor for myself, and I can’t wait to help out anyone looking to not spend 10 months waiting on EPS.
